On another note- I am making June welding month. I am finally going to use my welder. And I finally decided what to use it on. Can't wait!


Tuesday, May 25, 2010
We won!
Our Firepit won a prize at the IIDA competition! Yay! And it was auctioned off for $130. So more money for scholarships. Double Yay!
Friday, May 21, 2010
IIDA Competition
This was not a project I did on my own but it required me to get creative! Every year our local IIDA ( http://www.iida-tx-ok.org/ ) hosts a competition called Imagine That! for the Design Firms here in town to raise money for scholarships. Each year there is a different theme and each team must create something based on that theme. This year the theme is Fire & H2O- we were encouraged to make a water or fire themed sculpture. Our team decided on Fire and made a fire pit.


Since we were lacking heavy duty tools we had to enlist the help of one of the architects to help us put the whole thing together. He cut a grill to size and fit it inside the tub.
 Then he had to cut metal "leg extenders" to make the claw feet all the same height.
 Then using a heavy duty drill, he drilled holes in the feet and in the bottom of the tub. Then secured them on the bottom. A piece of sheet metal was added for extra stability.
 All the feet screwed on together.
 We used Fire Resistant Paint, otherwise I think it would burn off the first time someone used it.
There's not a lot of color choices with that type of paint (mainly used for BBQ pits and car parts) but the red really makes it pop!

Here's a picture of it all lit up!
We used the drum from an old washing machine as the pit. Luckily we found one that was already out of the washer, I wasn't sure how to take it out otherwise.
We thought it would be a cool idea to use old feet from a claw foot tub as the legs. We scored these from an antique shop- $10 for all three since they were mismatched. Otherwise they would have been much more!
Since we were lacking heavy duty tools we had to enlist the help of one of the architects to help us put the whole thing together. He cut a grill to size and fit it inside the tub.
Then he had to cut metal "leg extenders" to make the claw feet all the same height. Then using a heavy duty drill, he drilled holes in the feet and in the bottom of the tub. Then secured them on the bottom. A piece of sheet metal was added for extra stability. All the feet screwed on together. We used Fire Resistant Paint, otherwise I think it would burn off the first time someone used it.There's not a lot of color choices with that type of paint (mainly used for BBQ pits and car parts) but the red really makes it pop!
Here's a picture of it all lit up!
The competition is tomorrow where it will be auctioned off and hopefully will win a prize!
Tuesday, May 18, 2010
Coming through in a Clutch


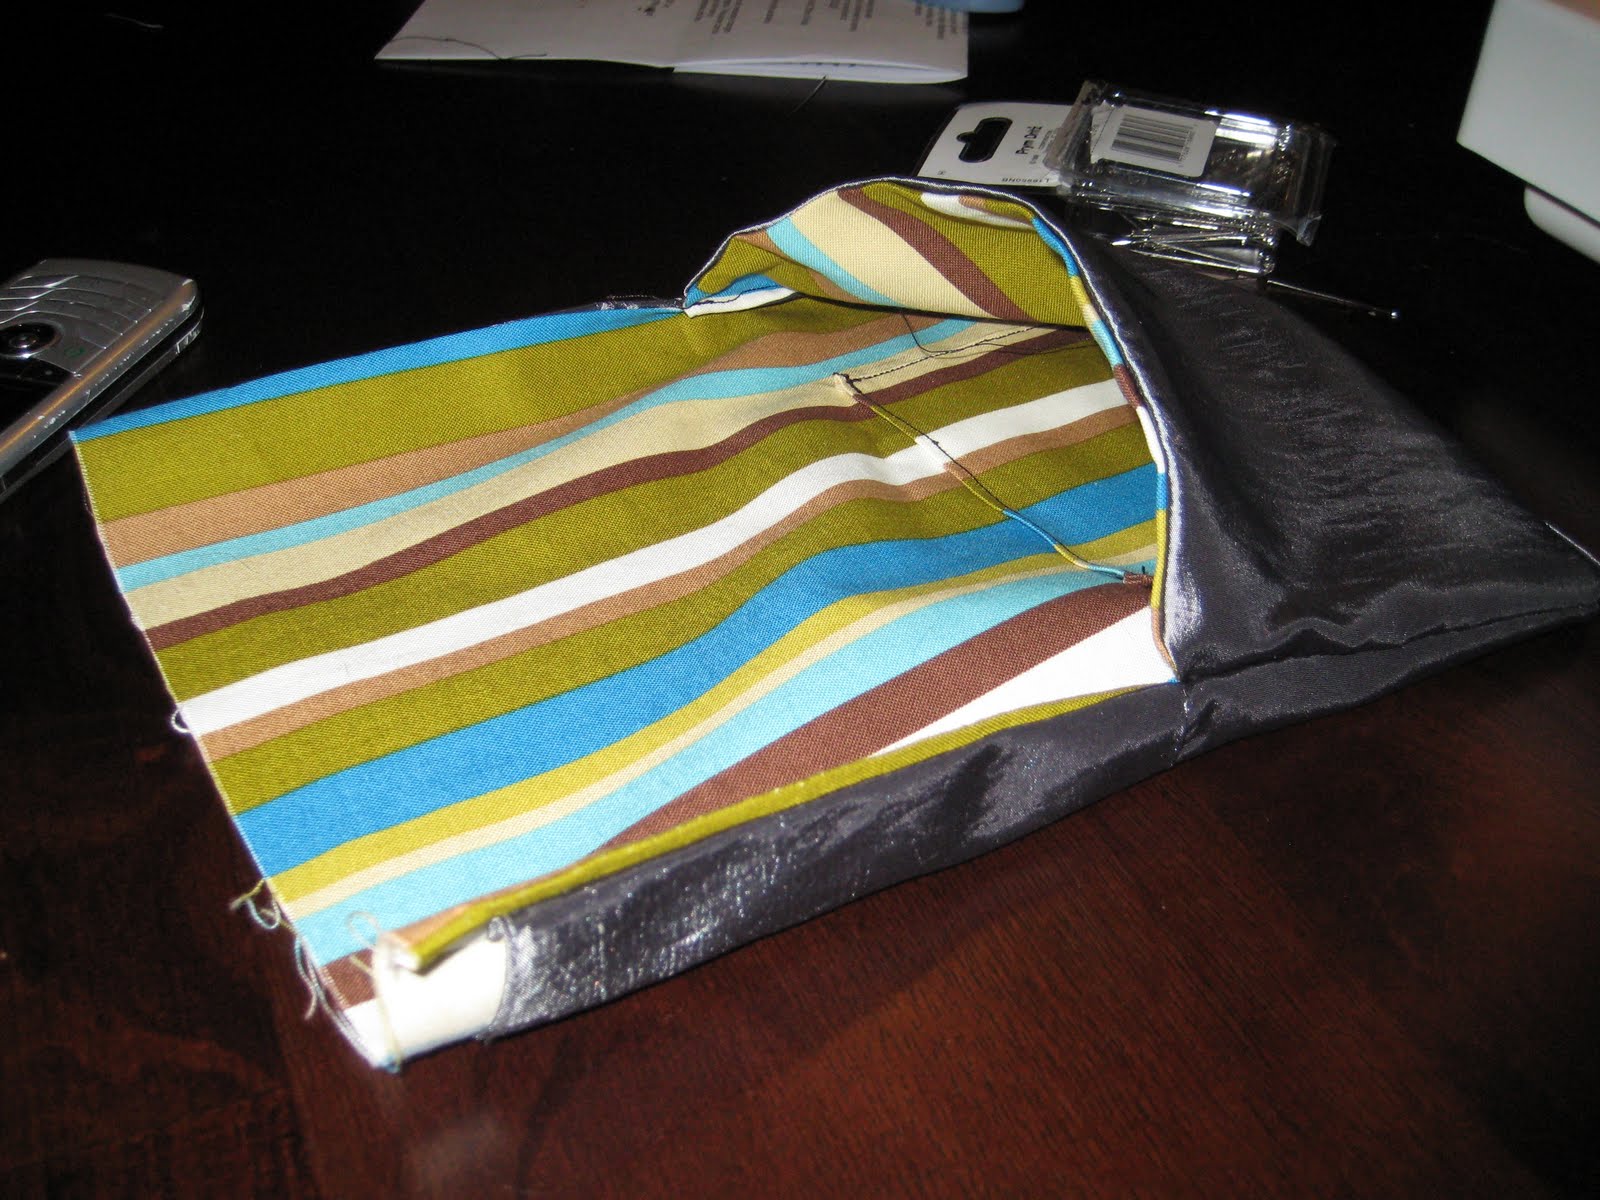
Before I put the cardboard in the purse I had glued some magnets to the cardboard to act as a closer.

To finish it off I used a pin I had for decoration. It fit perfectly with the theme of the wedding which was in New Orleans. The purse matched my dress perfectly and I think I will use it again! It only took 2 nights after work to finish it up (most of that time was spent trying to remember how to use my sewing machine!). Now I'm tempted to hit up thrift stores and Marshalls to get old dresses and cut them up for this purpose!


It matched the bridesmaid dresses perfectly!
You could even do this with an old bridesmaid or prom dress you have laying around. Maybe you could use the fabric to make pillow covers or a clutch like this.
Linking up to
Linking up to
Friday, May 7, 2010
New Toy
So I bought a welder. I'm not sure what's more dangerous, me with this welder or me searching craigslist finding this stuff. Can't wait to use it!

Tuesday, May 4, 2010
Doggie Bookcase
So I was thinking more about that scroll saw wasting away in the shed and thought I should do something with it. But what?? Well after some research I saw this super cute Elephant Bookcase on Design Public. I wondered if I could make something like it with the scroll saw for Con-Man.
 I don't know if Con-Man likes Elephants or not, but I know he loves Gracie, she's a dog, so maybe he likes dogs? After some thought I though a wiener dog might make cute bookcase.
If you think you'd like to make one of your own you'll need:
1 piece of Pine Board 7" tall (Try to look at a few and find one that is not warped and has few knots)
A scroll saw or jig saw with a fine blade
Wood Glue
Sand Paper
Paint and Pencil
I sketched an image of a wiener dog to the size I needed- approximately 7" tall by 12" long. Then I traced out the shape on a piece of wood. (Download the Dog Templates to trace here: Dog Bookcase Templates )
 My saw can't handle wood much larger than 1" so I traced the dog template 3 times then cut each out with the saw.

Once I had my 3 shaped cut out I glued them together with the wood glue and set it under some heavy books overnight to dry.
 Ta da! I then sanded it down with the attachment on the saw to smooth out the edges. (It didn't dry perfectly straight and since its my first time using a scroll saw I had some jaggedy edges..) If you don't have a power sander sanding by hand will work just fine but may take a little longer.
 Using some leftover paint I painted and sealed the bookcase. Check out the finished product in Con-Man's room:

 The wood was only $5 and this didn't take a incredibly long time, I just had to spread it out over a couple of days because of work and taking care of Con-Man. And getting the hang of the scroll saw wasn't that bad either. You can tell which was my first and last cut out. It might be fun to try some other shapes- a dinosaur, snail, strawberry. I'd love to see what other people come up with!
I don't know if Con-Man likes Elephants or not, but I know he loves Gracie, she's a dog, so maybe he likes dogs? After some thought I though a wiener dog might make cute bookcase.If you think you'd like to make one of your own you'll need:
1 piece of Pine Board 7" tall (Try to look at a few and find one that is not warped and has few knots)
A scroll saw or jig saw with a fine blade
Wood Glue
Sand Paper
Paint and Pencil
I sketched an image of a wiener dog to the size I needed- approximately 7" tall by 12" long. Then I traced out the shape on a piece of wood. (Download the Dog Templates to trace here: Dog Bookcase Templates )
My saw can't handle wood much larger than 1" so I traced the dog template 3 times then cut each out with the saw.
Once I had my 3 shaped cut out I glued them together with the wood glue and set it under some heavy books overnight to dry.
 Ta da! I then sanded it down with the attachment on the saw to smooth out the edges. (It didn't dry perfectly straight and since its my first time using a scroll saw I had some jaggedy edges..) If you don't have a power sander sanding by hand will work just fine but may take a little longer.Using some leftover paint I painted and sealed the bookcase. Check out the finished product in Con-Man's room:The wood was only $5 and this didn't take a incredibly long time, I just had to spread it out over a couple of days because of work and taking care of Con-Man. And getting the hang of the scroll saw wasn't that bad either. You can tell which was my first and last cut out. It might be fun to try some other shapes- a dinosaur, snail, strawberry. I'd love to see what other people come up with!
Subscribe to:
Posts (Atom)