Thursday, September 15, 2011

Awesome Altus Finds

Since I've decided to try and sell some of my furniture creations to the public, I've been hitting up thrift stores here in town more often than usual. But I've been finding more things that I want to keep for myself than I would want to sell...

I'm a sucker for Mid-Century furniture- the clean lines, natural materials, simple forms all speak to me. And if someone had told me that when we moved to Altus, OK that I'd even be able to find Mid-Century  furniture anywhere I would have thought they were crazy. Altus is in the middle on no where, but I've come across some interesting finds recently that has me all excited.

Now, I haven't found any Eames Aluminum Group furniture, or Nelson Chairs, BUT I did find this cute sewing table with great Mid-Centiry legs:


I'm planning on putting a new solid top on it so it can be used as a desk. It was only $10! The drawers and wood tops are maple! Some paint in the right places and it will be good as new.

And I was super excited to find this coffee table. When I saw it in the Goodwill Store I almost hyperventilated. 


Ok, try to look past the stained plywood top and two tier triangle thing and check out those Hairpin Legs!! I've been dying for some. I've seen those legs go for at least $16 each online. I got the whole table for only $20. 

Score!

Now I'm scheming what to make with them. A rustic bench/ table?


A modern coffee table?


A classic Eames inspired surfboard table?


Or scavenge out an Eames Molded Plywood Chair shell and find a way to attach the legs?


The possibilities are endless!!!

I wonder if the Hubs is starting to regret the whole me staying at home thing.....

Tuesday, September 13, 2011

Road Kill Rescue 2: Small Dresser

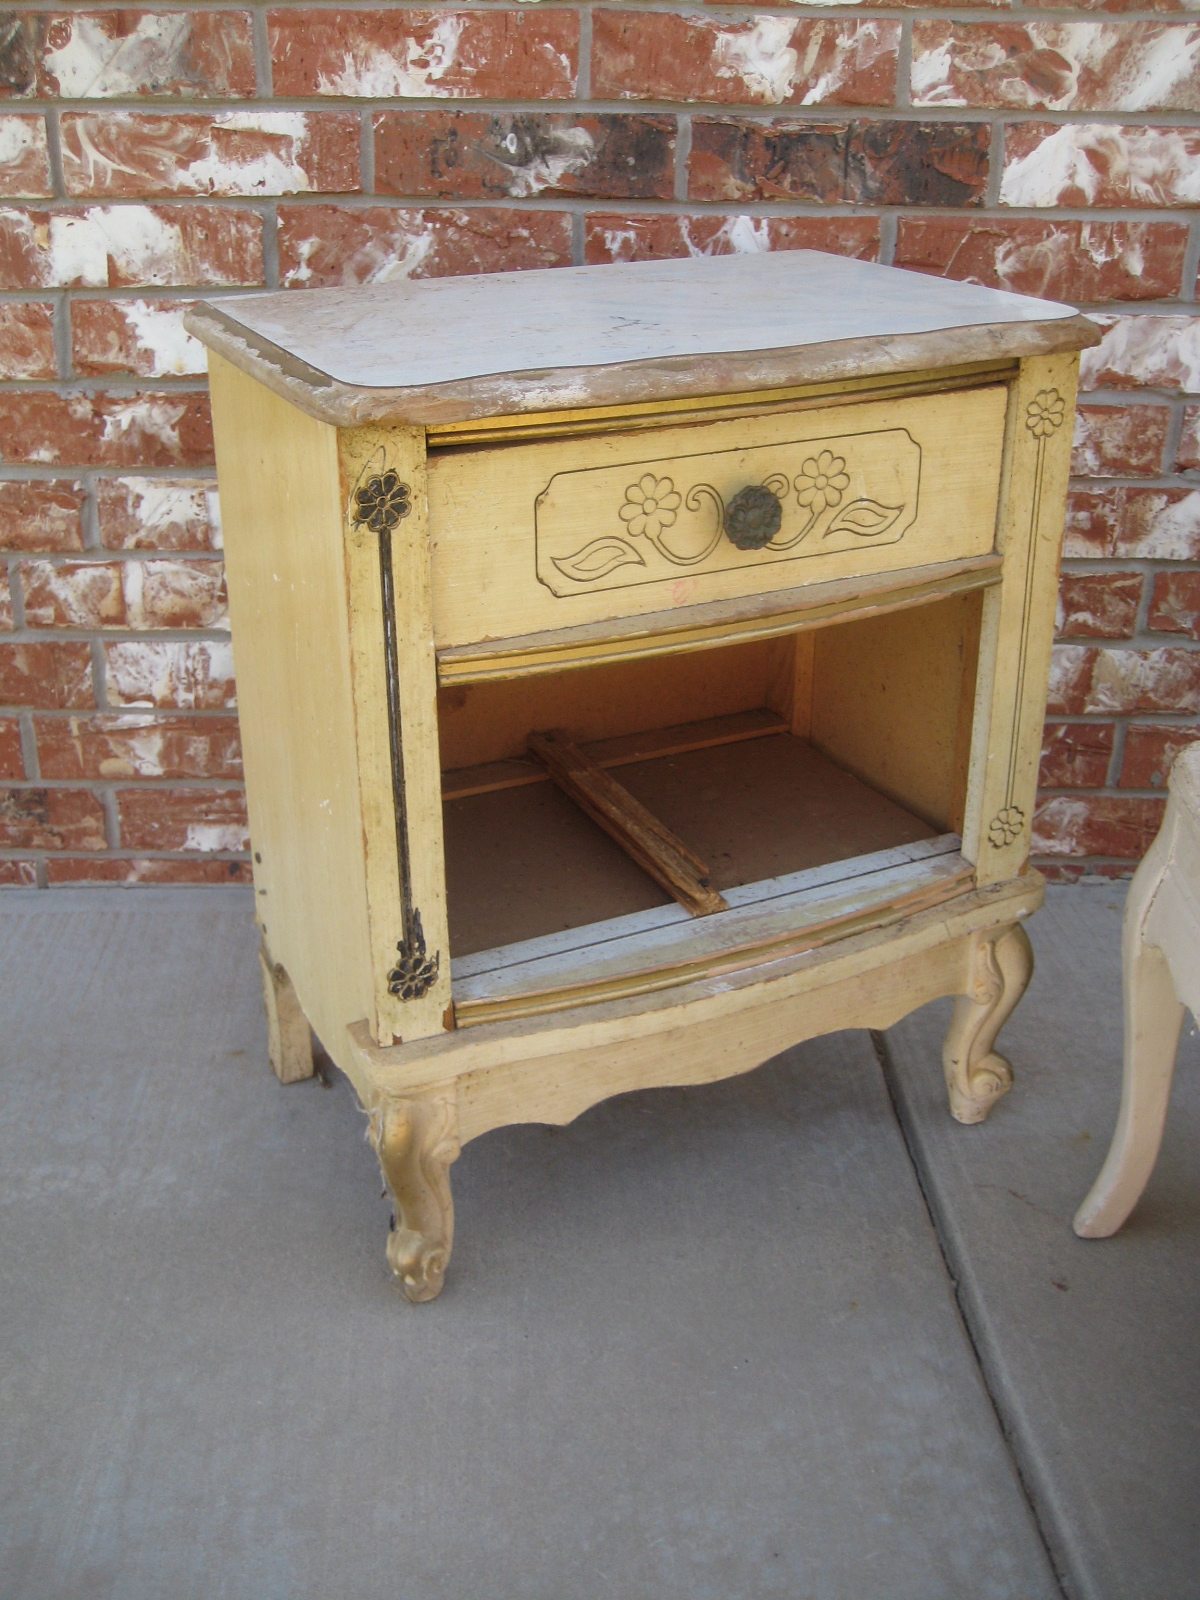
You may remember this little dresser from the furniture road kill I picked up a week ago:


It was dirty, sadly neglected, and missing the bottom drawer. Not to fear though! With some thorough cleaning, tightening of legs, some TLC it now looks like this!


Boo Ya! Cute or What?

It didn't need a ton of work and I think it looks great! To get it to this point (after cleaning the heck out if it) I did a light sanding over the surface, then came over that with a coat of primer.


Then I used Rustoleum Glossy White spray paint and painted it.


After it was all dry I came back with a piece of sand paper and hand distressed along some of the edges.


To fix the problem of the missing drawer a curtain made out of old pillow cases did the trick. I hung a wire secured by screws on either end across the top of the hole where the drawer was. I cut the pillow cases down to size and used Stitch Witchery to make a hem for a pocket where the wire would run through. 


And done! No more weird 70's/ 80's yellow here. This little dresser has a whole new life. Another great thing about it is that it cost me next to nothing to do. I found the dresser, had the paint on hand from another project, and the pillow cases were left over from the sheet sets I used to make Con-Man's curtains.


I love it when furniture is given a new lease on life! What is your greatest furniture road kill rescue? This one is up there at the top of my list.


Saturday, September 10, 2011

Harvest Time: Margarita Pizza!


Ok, I may be stretching it a little bit here. I don't know if picking basil leaves is technically a harvest; BUT it was picked from my garden and it's starting to feel like fall so I'm calling it a harvest. 


And despite my trying to kill them early on my tomatoes have little buds on them and my pepper plant is sprouting some peppers as well. So I may have a real harvest in the near future. 


In the meantime here's what I made with the basil from my garden!


Margarita Pizza is easy to make, especially if like me you cheat and buy a pre-made crust. All you need is:


Pizza Crust 
Roma Tomatoes Sliced
Basil Leaves
A few tablespoons Olive Oil
2 Cloves Chopped Garlic
Mozzarella Cheese


(I just noticed I buy a lot of Great Value Brand....)

1. Spread the Olive Oil over the crust, then sprinkle and spread the garlic on top

2. Arrange the sliced Roma Tomatoes and Basil leaves around the pizza


3. Cover the pizza with cheese by sprinkling it all over. (And if you have a 2 year old son who will only eat pizza with Black Olives on it; put those on at this time.)


4. Bake for about 8-10 minutes or until cheese is melted


5. Open a bottle of wine, eat your pizza and relax it's the weekend!!!

Happy Weekend everyone!

Thursday, September 8, 2011

Help A Girl Out?

Hello Blog Friends! I'm sending a special shout out to you today! I need advice and you guys are the perfect people to ask~


I was previously working at a large architecture firm in Texas, and was hoping to continue working in a similar field up here. But there isn't much work to be had for a Interior Designer in our new small town in Oklahoma. 


So I'm thinking of venturing out into something I've never done before- selling of my future creations. There are some vintage/ antique stores in town where I can rent a booth and sell my wares. I've been hesitant about doing this- it's kind of nerve wracking. Will anyone buy what I have to sell? I'm not expecting to make a ton of money doing this, but will I be able to break even?


I already have a few things to help get me started.


Scored this guy at the Goodwill for $10 and he is going to be fabulous!


Maybe making some variations of my Wine Cork Boards to sell


And thinking about recovering these guys with a less bold fabric.

So do you guys have any advice for a first time furniture seller? How do you decide what to price each piece? What in your experience sells the best; furniture, accessories? Any tips or tricks?

My other concern (besides not making any money back doing this..) is that I have some other projects around the house that I wanted to work on and I'm afraid they might suffer with my new venture. 

Any advice on balancing your work and play?

Tuesday, September 6, 2011

Cute Cafe Chair Update

Some people don't have the time, energy, creativity, whatever- to see the beauty in an old piece of furniture. Lucky for me some of these people live near me! Remember last week when I posted about finding some furniture road kill outside a storage facility? Well I've finished the first makeover from that find.


This poor little chair had good bones but was sadly neglected.


I started by unscrewing the seat cushion, removing the old fabric using a flat head screw driver, and cleaning up the frame to prep it for paint. (Terrible Blogger that I am I forgot to take pictures of most of this process!) It was mainly dusty and dirty with some rust that I had to scrub off. I read that some people use CLR to clean t=rust off, but mine chair came clean with sand paper pretty easily.


I couldn't figure out how to take off the seat back, so when spray painting I just covered it with tape and paper. I used Rustoleum Heirloom White to give the frame a new life. Then using some fabric leftover from another project I reupholstered the cushions, adding some batting to the seat for a more comfortable sit. 


Basically measure out your fabric or trace the old fabric as a template. Then staple at the center of each side making sure each side is even and the fabric is taught (tawt?). Then move to the corners and work your way in finishing off each side with staples. Cut off any excess for a clean finish. (For a better tutorial on this process check out this post here!) 

For the back of the chair I reused the same cardboard cutout and wrapped my fabric around it, using a light dusting of spray adhesive to keep in in place. Then nailed it back on with upholstery tacks

Then screw the seat back on and your finished!


I think it turned out totally cute! Don't you love giving new life to old furniture?

Saturday, September 3, 2011

Stuffed Shrimp Weekend!

We've been busy this week over here in Oklahoma. In case you missed it my Slipcovered Chair was featured on Apartment Therapy in Thursday! Woo Hoo!


Also, we are so lucky and excited to have the Hubs Mom come in town! Connor loves his Mee Maw and since we live even further away now (Thank U.S. Military) it's a real treat that she came to visit.


Speaking of treats she brought is some authentic Louisiana food; something we have been deprived of up here in Oklahoma. Boudin, Red Beans, Abita Beer, and fresh Gulf Shrimp!! Heaven on Earth as far as I'm concerned.


To celebrate I tried my hand at making Stuffed Shrimp- one of my favorite dishes.


Using this recipe I found on The Advocate Food Section (the best newspaper food section EVER!) I went to work. Since I got this recipe a long time ago it's no longer on the site so here's the low down if you want to try this yourself:


Baked Stuffed Shrimp


(Makes 25 to 30 Shrimp)
25-30 Shrimp
3/4 stick butter or margarine
6 ribs of celery, chopped
1 large onion chopped
3 bay leaves
1 bunch of green onions chopped
About 1/2 cup chopped fresh parsley
About 3/4 medium sized French bread loaf
1 lb. crabmeat (lump or claw) 
Salt, Pepper, cayenne pepper to taste (I just used Tony's)
1 cup seasoned bread crumbs


(I further minced my celery, onion, green onion, parsley, and crab meat in a chopper to make it fine so it would stick together easily)


(Crabmeat)


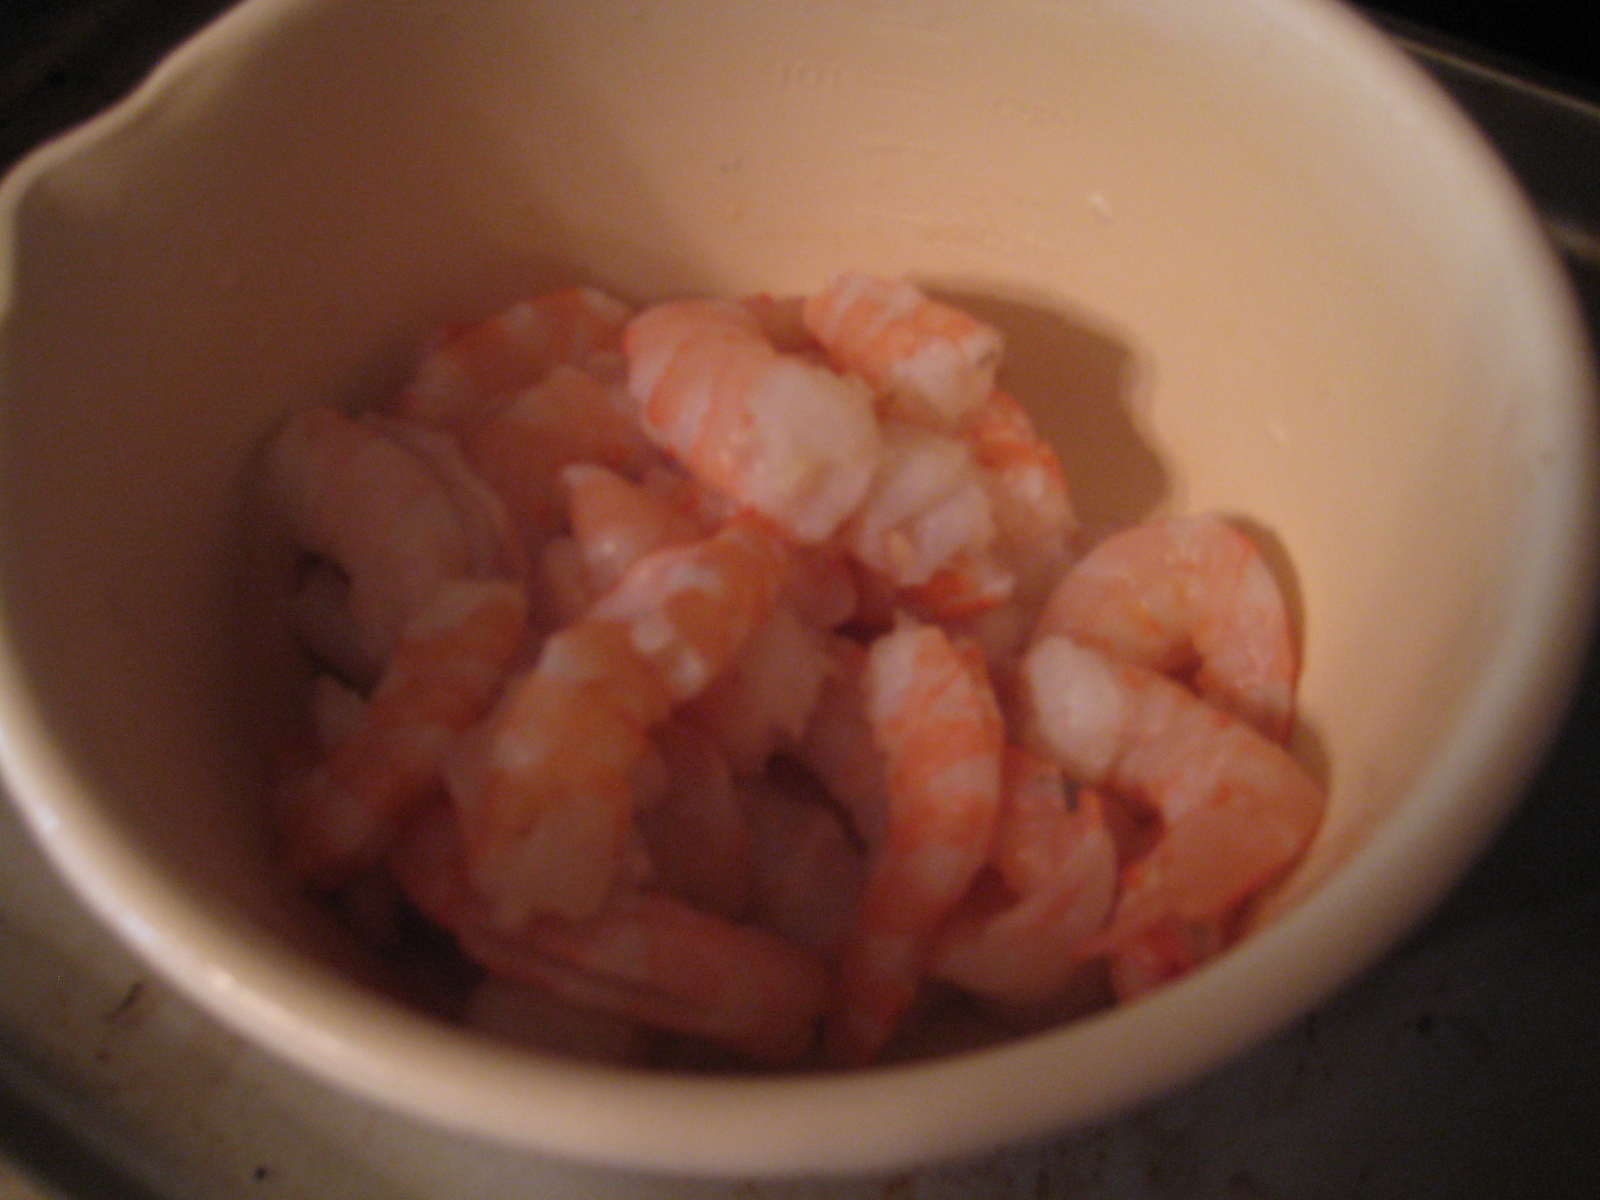
1. Peel raw shrimp, leaving tail section on shrimp. Devein and butterfly shrimp. Refrigerate until dressing is prepared. (I totally forgot to leave the tails on- oops. It still worked out fine though.)


2. In a medium skillet saute celery, onions and bay leaves in butter or margarine until tender. Add green onions and parsley. Saute until tender. Remove bay leaves.


3. Poke holes in French Bread. Wet bread under cold water then squeeze out most of the water. Break bread into small pieces with hands and place in a mixing bowl. Add celery, onions, and parsley mixture to bread. Add crabmeat, salt, and pepper.


4. Take a handful of dressing and wrap around peeled shrimp, leaving tail exposed. Roll or sprinkle seasoned bread crumbs over stuffing. Place on lightly greased cookie sheet.


5. Bake at 350 degrees for about 30 minutes or until shrimp are cooked through.


Yum! These turned out really good- and since they're baked not fried they are pretty good for you. 

Do you have favorite dishes from your childhood that you crave sometimes? I sure do!!!