All this organization got me thinking about my dysfunctional closet I mentioned in an older post about our 1930's home. I meant to get to it ever since we moved in but it was a project that I put on the back burner. I feel like the only way for you to understand just how bad the situation is, is to show you a before picture.
Viewer warning, the image you are about to see may be disturbing to some readers!
AUGH! I'm so embarrassed! Piles of t-shirts from sorority/ college days, purses and bags on the floor, shoes scattered everywhere, to many clothes in a small space. Please don't judge me; look what I've been working with here.
So to remedy this sad situation I decided to add a third shelf to hold my bags and purses and a second rod for pants and skirts. I took my measurements and head over to my friendly Home Depot where I got all my supplies and had them do all the cutting.
I purchased a 14" wide board for the shelf, 2 1" x 2" strips to hold the shelf, and a wooden rod- all cut down to the size I needed. All my materials for 2 closets (mine and the Hubs) including paint was only $50. The most expensive item was the wooden rod. $3 per foot!
Anyway I got to work painting everything. I could have bought an already primed MDF board for the shelf but they were $15 each, I thought it was a little high so I bought the plain wooden ones. I just wanted to mention it in case someone wanted to skip some of the painting.
Once I got all the painting done it was time to take everything our of my closet and decide what to give away and what to keep.
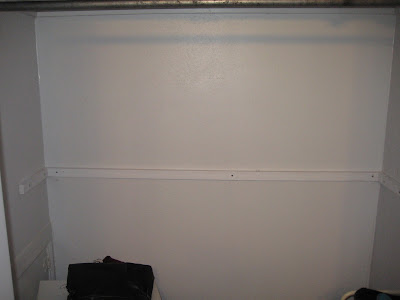
Next for the actual hanging. I measured 42" off the floor and used a level to hang the first long strip of wood to hold the shelf, then screw on the two side pieces. This was the moment of truth; were those measurements I took while 18 monthCon-Man was trying to "help" me hold the tape measure accurate?
Success!
Now was time to hang the rod. I measured the same 42" up then about 6-8" out in front of the upper rod. This is to keep the clothes on the upper and lower rods from getting all tangled in each other.
This part was pretty easy. I bought the rod hanger thingys, just 1 screw for each side and done! (You know, these things:
And now for the finished product!
Ok, I know it's still not the most beautiful closet in the world. Not like this one from Made By Girl but I can actually find my clothes, stuff is off the floor, the world is good again! And check out those neatly folded T-Shirts!
How is everyone else organizing for the New Year?


6 comments:
Wow! You're good! This looks amazing and you make it look easy! I'd like to do this too.
Be a sweetie,
Shelia ;)
You're awesome. I have a disfunctional closet, too. I'm a freelance clothing designer, so it seems all my creative energy goes into designs I don't even get to put in my own closet. hehehe...
Kristina J.
Looks great! I have a huge walk in and even with all the room, it is no where near neat and organized...lol. I will give you a little cheapo tip...*grin*...the tention rods used for bathroom shower curtains can be found for $4-$8, and they work just like those wooden rods. Who's gonna know with your clothes hangers on them? :)
Love it! Way to organize!
Great job! I love making more storage space in a closet.
Great work! Thanks for linking up to Mad Skills Monday!
Post a Comment