On another note- I am making June welding month. I am finally going to use my welder. And I finally decided what to use it on. Can't wait!


Tuesday, May 25, 2010
We won!
Our Firepit won a prize at the IIDA competition! Yay! And it was auctioned off for $130. So more money for scholarships. Double Yay!


Friday, May 21, 2010
IIDA Competition
This was not a project I did on my own but it required me to get creative! Every year our local IIDA ( http://www.iida-tx-ok.org/ ) hosts a competition called Imagine That! for the Design Firms here in town to raise money for scholarships. Each year there is a different theme and each team must create something based on that theme. This year the theme is Fire & H2O- we were encouraged to make a water or fire themed sculpture. Our team decided on Fire and made a fire pit.


Since we were lacking heavy duty tools we had to enlist the help of one of the architects to help us put the whole thing together. He cut a grill to size and fit it inside the tub.
 Then he had to cut metal "leg extenders" to make the claw feet all the same height.
 Then using a heavy duty drill, he drilled holes in the feet and in the bottom of the tub. Then secured them on the bottom. A piece of sheet metal was added for extra stability.
 All the feet screwed on together.
 We used Fire Resistant Paint, otherwise I think it would burn off the first time someone used it.
There's not a lot of color choices with that type of paint (mainly used for BBQ pits and car parts) but the red really makes it pop!

Here's a picture of it all lit up!
We used the drum from an old washing machine as the pit. Luckily we found one that was already out of the washer, I wasn't sure how to take it out otherwise.
We thought it would be a cool idea to use old feet from a claw foot tub as the legs. We scored these from an antique shop- $10 for all three since they were mismatched. Otherwise they would have been much more!
Since we were lacking heavy duty tools we had to enlist the help of one of the architects to help us put the whole thing together. He cut a grill to size and fit it inside the tub.
Then he had to cut metal "leg extenders" to make the claw feet all the same height. Then using a heavy duty drill, he drilled holes in the feet and in the bottom of the tub. Then secured them on the bottom. A piece of sheet metal was added for extra stability. All the feet screwed on together. We used Fire Resistant Paint, otherwise I think it would burn off the first time someone used it.There's not a lot of color choices with that type of paint (mainly used for BBQ pits and car parts) but the red really makes it pop!
Here's a picture of it all lit up!
The competition is tomorrow where it will be auctioned off and hopefully will win a prize!
Tuesday, May 18, 2010
Coming through in a Clutch


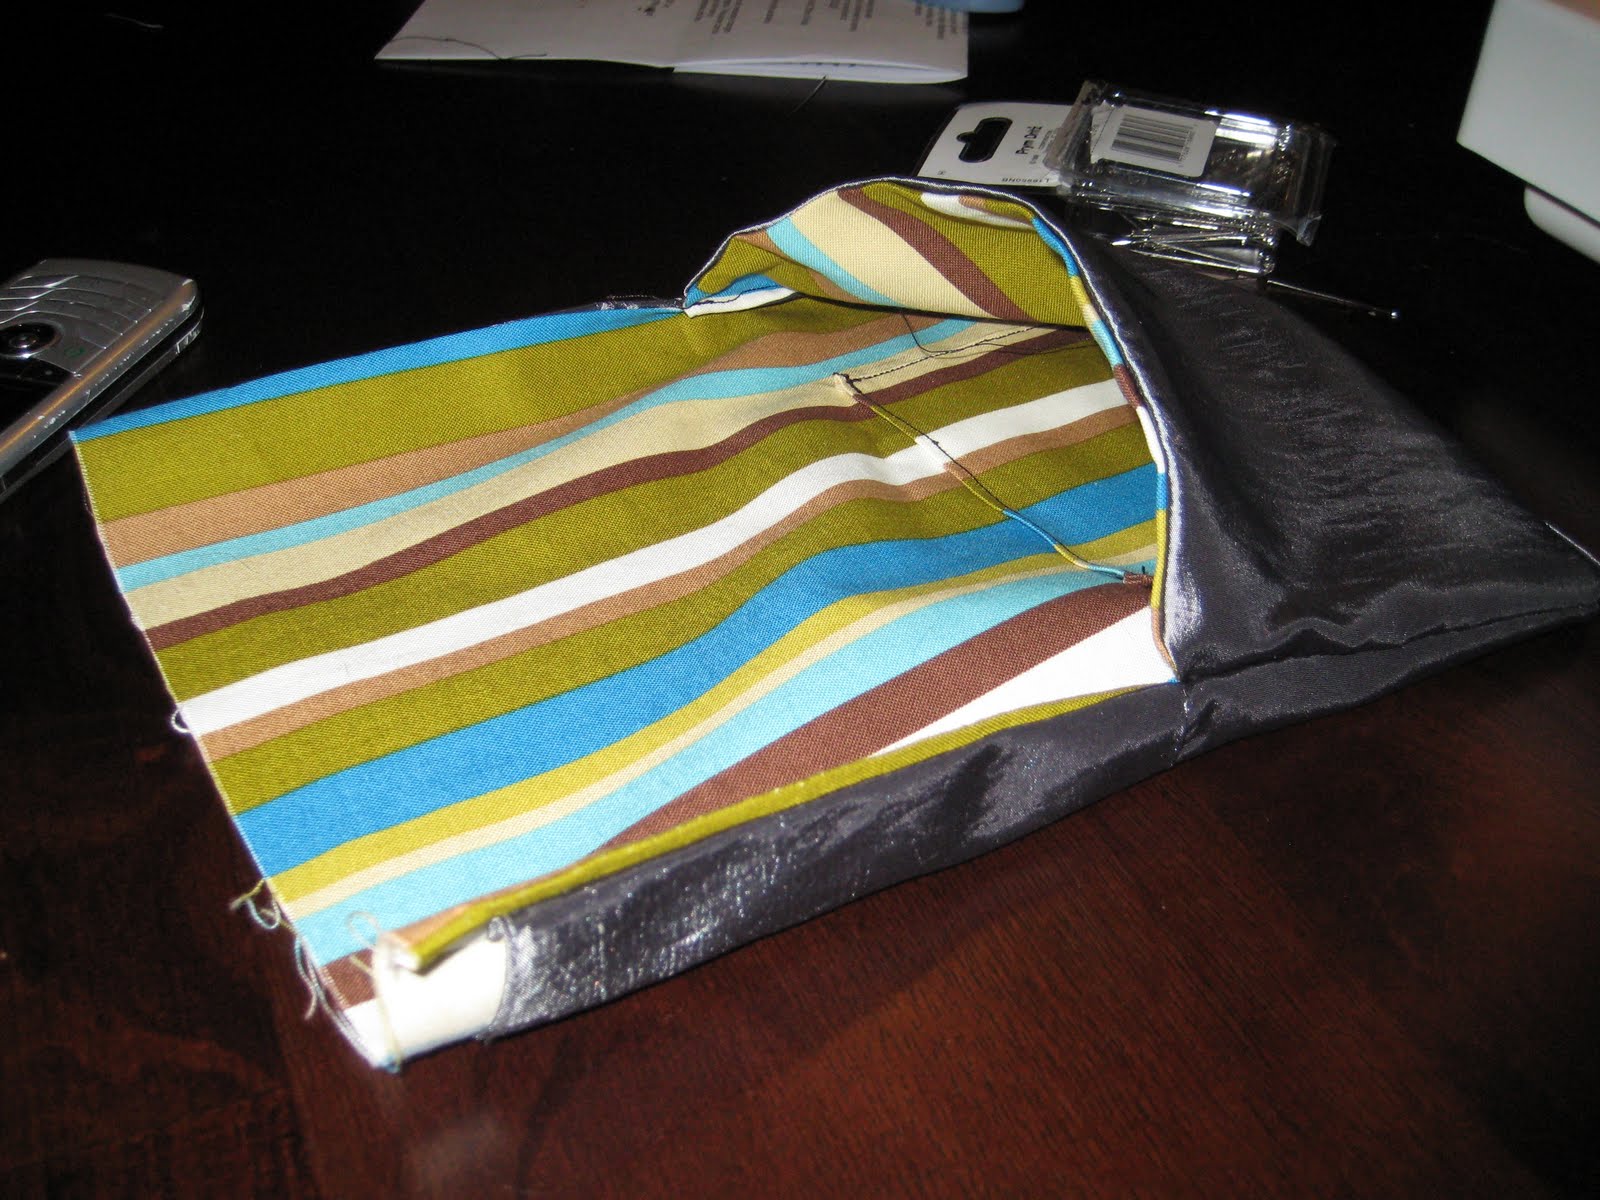
Before I put the cardboard in the purse I had glued some magnets to the cardboard to act as a closer.

To finish it off I used a pin I had for decoration. It fit perfectly with the theme of the wedding which was in New Orleans. The purse matched my dress perfectly and I think I will use it again! It only took 2 nights after work to finish it up (most of that time was spent trying to remember how to use my sewing machine!). Now I'm tempted to hit up thrift stores and Marshalls to get old dresses and cut them up for this purpose!


It matched the bridesmaid dresses perfectly!
You could even do this with an old bridesmaid or prom dress you have laying around. Maybe you could use the fabric to make pillow covers or a clutch like this.
Linking up to
Linking up to
Friday, May 7, 2010
New Toy
So I bought a welder. I'm not sure what's more dangerous, me with this welder or me searching craigslist finding this stuff. Can't wait to use it!

Tuesday, May 4, 2010
Doggie Bookcase
So I was thinking more about that scroll saw wasting away in the shed and thought I should do something with it. But what?? Well after some research I saw this super cute Elephant Bookcase on Design Public. I wondered if I could make something like it with the scroll saw for Con-Man.
 I don't know if Con-Man likes Elephants or not, but I know he loves Gracie, she's a dog, so maybe he likes dogs? After some thought I though a wiener dog might make cute bookcase.
If you think you'd like to make one of your own you'll need:
1 piece of Pine Board 7" tall (Try to look at a few and find one that is not warped and has few knots)
A scroll saw or jig saw with a fine blade
Wood Glue
Sand Paper
Paint and Pencil
I sketched an image of a wiener dog to the size I needed- approximately 7" tall by 12" long. Then I traced out the shape on a piece of wood. (Download the Dog Templates to trace here: Dog Bookcase Templates )
 My saw can't handle wood much larger than 1" so I traced the dog template 3 times then cut each out with the saw.

Once I had my 3 shaped cut out I glued them together with the wood glue and set it under some heavy books overnight to dry.
 Ta da! I then sanded it down with the attachment on the saw to smooth out the edges. (It didn't dry perfectly straight and since its my first time using a scroll saw I had some jaggedy edges..) If you don't have a power sander sanding by hand will work just fine but may take a little longer.
 Using some leftover paint I painted and sealed the bookcase. Check out the finished product in Con-Man's room:

 The wood was only $5 and this didn't take a incredibly long time, I just had to spread it out over a couple of days because of work and taking care of Con-Man. And getting the hang of the scroll saw wasn't that bad either. You can tell which was my first and last cut out. It might be fun to try some other shapes- a dinosaur, snail, strawberry. I'd love to see what other people come up with!
I don't know if Con-Man likes Elephants or not, but I know he loves Gracie, she's a dog, so maybe he likes dogs? After some thought I though a wiener dog might make cute bookcase.If you think you'd like to make one of your own you'll need:
1 piece of Pine Board 7" tall (Try to look at a few and find one that is not warped and has few knots)
A scroll saw or jig saw with a fine blade
Wood Glue
Sand Paper
Paint and Pencil
I sketched an image of a wiener dog to the size I needed- approximately 7" tall by 12" long. Then I traced out the shape on a piece of wood. (Download the Dog Templates to trace here: Dog Bookcase Templates )
My saw can't handle wood much larger than 1" so I traced the dog template 3 times then cut each out with the saw.
Once I had my 3 shaped cut out I glued them together with the wood glue and set it under some heavy books overnight to dry.
 Ta da! I then sanded it down with the attachment on the saw to smooth out the edges. (It didn't dry perfectly straight and since its my first time using a scroll saw I had some jaggedy edges..) If you don't have a power sander sanding by hand will work just fine but may take a little longer.Using some leftover paint I painted and sealed the bookcase. Check out the finished product in Con-Man's room:The wood was only $5 and this didn't take a incredibly long time, I just had to spread it out over a couple of days because of work and taking care of Con-Man. And getting the hang of the scroll saw wasn't that bad either. You can tell which was my first and last cut out. It might be fun to try some other shapes- a dinosaur, snail, strawberry. I'd love to see what other people come up with!
Monday, April 12, 2010

Sunday, April 11, 2010
Viva Fiesta!
It's Fiesta Season here in San Antonio. So that means Fiesta decorations! They are popping up all around our neighborhood. 

 All my supplies

1/2 way there

C.C. trying to help me out.

Finished product! Yay- now we're ready for Fiesta!
One of the main symbols of Fiesta is the Fiesta Wreath hung usually hung on the front door. Stores around here sell wreaths from $60- 80.  I thought I would make my own wreath to get into the Fiesta spirit and try to save some money along the way. I bought a bunch the least expensive flowers, a wreath and some extra glue- about $30 worth of supplies and got to work.
I thought I would make my own wreath to get into the Fiesta spirit and try to save some money along the way. I bought a bunch the least expensive flowers, a wreath and some extra glue- about $30 worth of supplies and got to work.1/2 way there
C.C. trying to help me out.
Finished product! Yay- now we're ready for Fiesta!
Tuesday, April 6, 2010
Muses about Welding
I didn't have time this weekend to work on anything because of Easter. So I thought some more about welding. I really enjoyed it. I have these Fleur De Lis bars from an old fence that I would like to do something with.

 A curtain rod maybe?
 Wall Art?

I'm having trouble deciding:
A curtain rod maybe? Wall Art?
Any other ideas or suggestions?
Whatever I end up doing with them it won't be any time soon. I don't know when I'll have access to the welding machine again. Unless I find one of my own- not sure how much those cost though. :/
Maybe I can find one on Craigslist?!
Wednesday, March 31, 2010
New Skill: Welding!
I've always wanted to try welding. I see metal furniture and think- "Hey I could make that!" If only I knew how to weld...


Well, I found out that my husband's grandfather has a welding machine that he rarely uses anymore. He offered to show me how its done. After a few practice rounds and some reading up on the subject I was ready to try it for real.
I needed some side tables for my living room and thought this would be a good way to get some. I had some old burgalar bars off a window of an old house that I needed to do something with. So I thought those could be used as the top with a piece of glass on the top.
I measured existing tables to get a good size and drew up a plan for all the pieces to be cut. I got the steel at a metal shop in town (I got some weird looks but they were very helpful. I don't think they are used to seeing young women coming in looking for steel!). Once I purchased all the materials I got to work. And work it was! Welding isn't physically demanding as in - lifting heavy objects hard, but tiring because it's hot, dirty work. You have to be precise while you are doing it and that can be hard sometimes with a giant welders mask over your face.
I really respect the people who do this for a living. Its both a utilitarian skill and an art form. Though it was hard it was fun. I would love to try it again now that I know how to fit things together and have a better understanding of what materials are available. For example; I purchased all flat bars, had them cut, welded them into angles and then fit them together to make the table. In the future I would purchase angled bars and save a lot of extra work.
I'm so glad that I got to try welding. I've always wanted to do it and hope that I will be able to do it again. I'd live to make a bar for my dining room, end tables for other parts of the house, ect. I'm not sure when I'll have the time though!
Detail shot
Me with finished product
In our living room!
Is there anything you have always wanted to try or learn more about? If so go for it!
Friday, March 26, 2010
In the meantime-
Here's some stuff I have been working on; (I promise this blog will not be all baby stuff but it's all I've been able to do lately...)

Here's the scroll saw wasting away in our shed

I found the frames at Walmart for about $11 each. I used an old white sheet I had gotten from the thrift store for $1 and used paint I had left over from painting our house. So for about $45 I have custom made artwork that I won't mind having to get rid of when Con-man wants a change of scenery.
So ever since I found out I was pregnant I wanted to give my baby the coolest stuff around. None of that Baby's R Us everyone's got one junk.
I had seen these cool wall hangings on Design Public and loved them! But a) they weren't the right color and b) they are way expensive! Here's the website incase you want some of your own: http://www.designpublic.com/catalogsearch/result/?q=spot+on+dog
So I tried thinking of ways I could make them myself and make them my own. I started by borrowing my mom's scroll saw thinking I could become a master scroll saw-er. Well turns out its not the right kind of saw for this purpose and I can't buy any attachments for it since its so old. Massive Fail as my friend Shelby would say.
Here's the scroll saw wasting away in our shed
. 
So I needed another approach. I thought- hey why don't I just paint them? Hello!! So I saved the images I wanted from the website and sized them to the size I needed. I found some ready made frames from Walmart and covered them with a white sheet.


I painted the backgrounds the color I wanted them, cut out the images and traced them onto the squares. Then carefully filled in a cat, dog, pig, and cow. Now sweet little Con-man has animal friends to look at all the time!


I found the frames at Walmart for about $11 each. I used an old white sheet I had gotten from the thrift store for $1 and used paint I had left over from painting our house. So for about $45 I have custom made artwork that I won't mind having to get rid of when Con-man wants a change of scenery.
Much better than $260+ I would have spent on the wooden ones online!
Subscribe to:
Posts (Atom)