Showing posts with label sewing. Show all posts

Monday, October 8, 2012

Orange You Glad I'm Finished?

I sure am! I can't believe that I haven't shared this with you yet. I finally finished upholstering my orange chair! 

Remember these guys? These orange chairs I've been carting around since we lived in San Antonio?


You may remember that I took an upholstery class here in Altus in order to learn how to recover these bad boys.

Monday, September 3, 2012

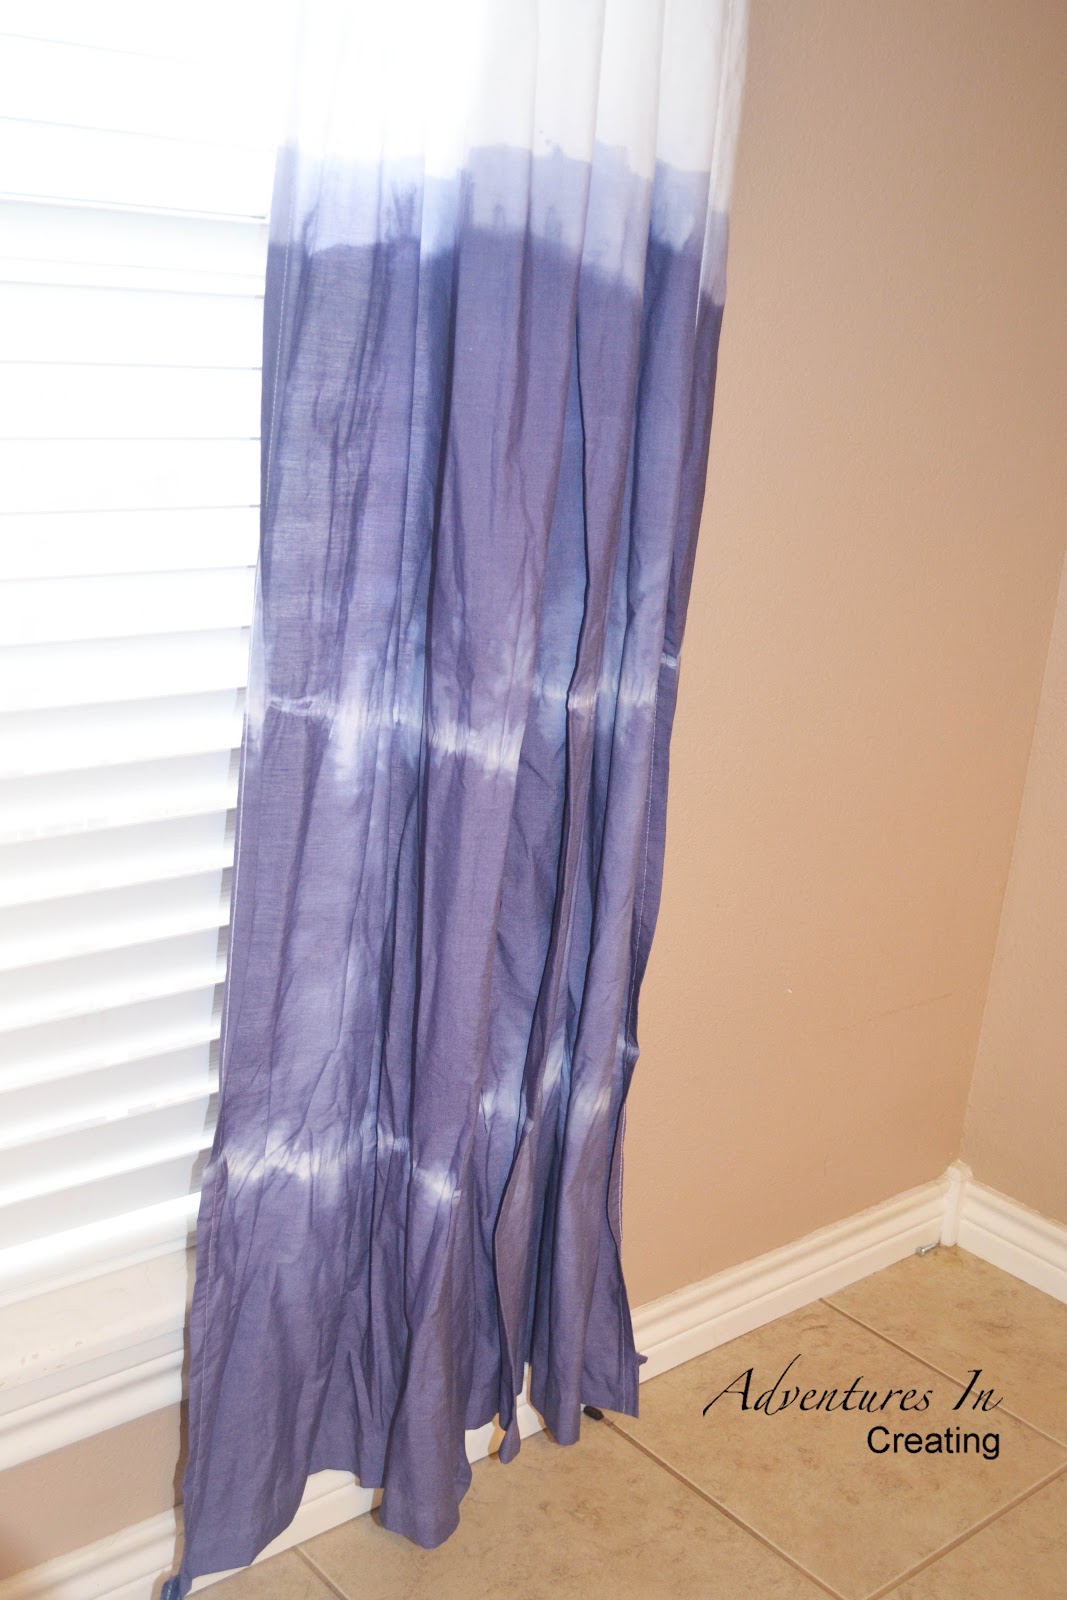
Easy Breezy Dip Dye Curtains

Hello All! I hope everyone is having a great Labor Day Weekend! 

I'm finally back with a DIY project to share with you. Way back in the day; when we first moved in to our rental here in Oklahoma, I shared our kitchen dining area with you in our house tour. I had a few ideas to spruce it up and succeeded in changing up the light fixture but progress stopped there.

Until Now! Check it out-


I'd been wanting to try dip dying ever since I saw some inspirational ideas on Martha Stewart a while back. I mean, the last time I had tie dye'd anything was in Girl Scouts a gazillion years ago. I've been wanting to make some curtains for this area for a long time so I went forth and conquered! 

I was a little intimidated because of the possible mess and Smurf Blue stained hands but the process wasn't as scary as I thought it might be.

I started by buying some some cheap twin size sheets at Walmart to use for the curtains like I've done before and got to work. I hemmed the sheets to the length I needed and cut open the large top hem so I could string the curtains onto the rod.

Then I gathered my supplies for the dying. I found a great tutorial from Rit Dye here. Basically all you need is fabric dye, salt, water, a large bucket, rubber gloves, a spoon, and a plastic drop cloth to catch drips.


Then I used rubber bands to cut off the parts I didn't want dye'd. Notice how I have 3 sheets? I bought an extra one for possible mess ups (which I did end up needing). 


Then I mixed the dye according to the directions on the bottle while trying really hard not to spill any in the kitchen before carrying it out to the garage.


Then just let my fabric soak. The directions say 10 minutes but I left it in for about 15 minutes to achieve a darker shade of blue.


Next I hung the curtains out to dry. I had to take a sneak peek during this process- I was worried my rubber bands weren't tight enough and that the blue dye may have seeped through. But in the end my worries were unfounded! And luckily my hands were spared any blue dye.


Here they are hanging in our kitchen!! I like how they are light and airy, casual and fun. I like the softness they bring to this wall. Something it desperately needed.


The cost for this project was practically nothing. The sheets were $6 each and the dye was only $2-3 and can be found at your local grocery in the detergent section. I bought mine at Walmart. All the other supplies I had on hand. 

And the overall dying process didn't take as long as I expected- maybe an hour. That included the mixing and dipping. It took a while to get the rubber bands placed where I needed though.

So if your looking for one of kind, unique, and inexpensive curtains this technique could be for you! 


What do you think? Have you ever dye'd anything? 

Wednesday, August 1, 2012

Aviation Inspired Onsies

Happy Wednesday Everyone! I didn't think I'd be back to crafting anytime soon but I'm back at it this week. Sawyer has been a really good baby and we have had family in town helping out- so I've had some time to get a few things done.


Just Chillin' Like a Villian

One of my good friends here in Altus is expecting a baby in a few weeks- a boy! He and Sawyer are going to be good friends. Her husband is a pilot in the Air Force; so I thought what better baby gift than one inspired by planes. I was supposed to work on this project last weekend; but Sawyer had other plans.


I found an image of an airplane online and resized it in Photoshop to the size I needed. Then printed it and traced it onto my felt.


For the second shirt I did the same thing; found an image of a vintage pilots hat and an image of aviator sunglasses. Photoshopped them up and printed them out.


Now it's just a waiting game for the little guy to show up! 

Along with the Onsies I'm also giving my friend a few new mom survival gifts- a cute water bottle, tea, lotion & chapstick, breakfast bars and some magazines. Just a few things to help her get through those late night feedings and early mornings.

Hooray for babies!!

Wednesday, May 9, 2012

Orange Chair Upholster Update

Though I haven't said much about it I have been working diligently once a week on reupholstering one of my lovely orange chairs at my upholstery class.


Before

It has been quite an experience. I'm the youngest one in the class (and only pregnant one) everyone else is much older. They are mainly reupholstering seats in their classic cars or RV's. It's been pretty cool to meet and mingle with people I may not usually interact with. 

The tearing apart was the easiest part for me, all the sewing involved has caused me some hang ups. I didn't realize that my chairs would require so much sewing- I thought it would be mostly stapling... no such luck. We have 2 classes left and barring any unforeseen catastrophes I should finish my chair in time.

In the meantime here are some progress shots:


Bare Bones


Fabric Scrap Yard


Gazillion Staples


Putting it back together


Sewing Piping- Go Me!


Getting the arms ready

One thing I decided to do to update the chairs was change the style of the arm. They were very retro. I modernized them by adding a piece of wooden to straighten out the angle:


Before


After

This is the part that really got me- the front seat cover. I had to pull out my seams several times- it took me 2 whole classes to sew and resew and resew and resew... I just couldn't get it perfect! And little mess up or wrinkle showed big time. It was so frustrating- I had serious thoughts of giving up. Finally after many tries and a lot of hair pulling I got it looking pretty good. 


Now that the seat cover is all set all I have left is stapling the sides of the arms and back seat cover, and sewing (Lord Help Me!) the cushion.

Overall it's been a good experience- I've learned a lot and met some nice people. But I'm seriously debating when or if I should even tackle reupholstering my second orange chair myself. The good thing about the class is having an instructor there to help me, access to a air powered staple gun, and industrial sewing machines. 

Like I said- the whole sewing debacle really deflated my confidence. 

My choices are:

1. Attempt the task on my own- to just go for it!

2. To take a second class (and pay the extra money) to reupholster the second chair. My problem is that Tiny Falcon #2 will have made his appearance by then and I'm not sure how that's going to work out.

3. Pay someone to reupholster it for me. I feel like that's such a copout. I took a class I should be able to take on the project myself. I bought the chairs with the intention of doing it on my own. But one thing I've learned also is that reupholstering may not be my best talent. ;)

Have you ever had a project that caused you some serious headaches?

Monday, April 9, 2012

Land of Nod Duvet Knock Off

Happy Monday! How was everyone's Easter Weekend? We had a fun time with family in Houston and now we are on our way back to Oklahoma.

I'd like to share with you how I made the duvet cover for Con-Man's new bed. A few weeks ago I was blabbing about how versatile sheets are in DIY design. Well here's the main reason why- I used sheets to make the duvet cover for his new bed!

I had seen this duvet cover on the Land of Nod Website. I thought it would last a long time; it doesn't have a "theme", has lots of colors to pull from in case we change Con-Man's room in the future, and I thought it could grow with him as he gets older.


Problem; it costs $100! Ouch. The cost of the duvet plus a comforter to go with it was out of the question. Solution- make one myself! Check it out:


I think it turned out pretty close to the original. Here's how I did it. Looking at the image online here are the measurements I came up with if you want to try to make this your self. I added a few inches to the end and sides to account for seam allowance. Make sure to measure your comforter and account for any difference in length of width.


Now here come's the part with the sheets. Walmart sells twin flat sheets in single packs and they come in tons of colors for only $6 each. I bought one in each color I needed and set to work.


I started by measuring each color strip to the length and width I needed.


Then cut them all out. The measuring and cutting took the longest.


Then pinned them all together to ready for sewing.


I sewed all the strips together for the main side- pretty straight forward. For the other side I wanted to change it up a bit in case we wanted something a little less colorful down the road. Using the leftover sheets I made a brown and blue side. I added buttons since I hate how duvet covers always get messed up inside the duvet and I think it adds some interest.


And since I know I am not a professional seamstress my sewing machine is pretty simple. Here is a link to a tutorial on how to sew a button hole without a button hole foot or setting on your machine. I had no idea before this how to sew a button.

Then I added velcro to the end so I can take the duvet off easily for washing.


In all for the sheets and the comforter this project cost me $50.  Not to shabby considering the cost of the original I copied.


Have you ever made a duvet cover? What sort of material did you use to make it?

Linking Here

Wednesday, March 7, 2012

Bed Sheets- the Most Versatile Household Item?

I love using materials for purposes other than what they were intended for; being green, recycling, that whole thing. One of the most versatile household materials in my opinion is sheet fabric. I love using sheets for things other than bedding. Sheets are great because you can get a lot of fabric for cheap, they come in tons of different patterns, and they are easy to work with (if your lucky you can reuse the factory seam = less sewing!)

I thought I'd do a little round up of fun projects using bedsheets:

1. Curtains! The length is usually spot on, not a lot of sewing involved, lots of fun patterns! I used sheets for curtains in my home as well.


2. Duvet Cover. Hey why not? They are about the same size as a duvet and way less expensive! Martha Stewart shows us how! Thanks Martha~


3. Basket Liners. I saw this tutorial and thought old sheets could be used to make these- so cute!


4. Bunting. These are so easy to make! If you have some old sheet laying around or see some at the thrift store this is the perfect project for them.


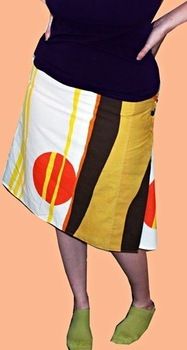
5. A Fun Skirt. Funky old sheets at the thrift store turned into a bold skirt!


6. Whimsicle Shower Curtain. Price of fancy shower curtains getting you down? How about making your own!


7. Braided Rug. Got a lot of sheets (and time on your hands)? How about making your own rug out of old sheets.


8. Embellishments. Want to spruce up your current bed linens (or anything for that matter)? Why not cut up some old sheets and give them a new life?


9. Pajama Pants. You can make PJ's to match your bedding!


10. And last but certainly not the least; the ever popular Toga out of a sheet. Would not have made it through my college days without this. ;)


Another thing I like to use sheets for is art canvases. I buy white ones at the thrift store, use some Gesso or white paint and paint away! I made these paintings for Con-Man's Nursery when he was a tiny baby:


So there you have it- will you think twice about passing up old sheets at the thrift store? And what really got me started thinking of this post is this sneak peak of an upcoming project:


It's something I'm making for Con-Man's room! Any guesses at to what it's going to be?

What's the most creative thing you've used sheets for?