Showing posts with label recycle. Show all posts

Thursday, December 19, 2013

Vintage Book Letters

Hey All! Is everyone gearing up for Christmas? We are but aren't. I'm so ready for the holiday but I still have shopping to do! Ack!!

In the meantime instead of getting things done around the house... I've been trying to get some items into the shop for last minute Christmas shoppers. You have most likely seen these before:


Similar ones were sold at Anthropologie and other specialty stores this season. They are super cool but were super expensive (to me at least). I knew it was a project I could tackle myself. 

Friday, November 22, 2013

DIY Marble Jewelry Hanger

Ooooohh!! A marble jewelry holder? Must be super fancy and expensive right? Well... not necessarily. If you have the right left over parts it can actually be pretty cheap. 

I had this old soccer trophy my mom made me take home with me when they were cleaning stuff out of their house. One of those- "take this old high school junk out of your room or I'm throwing it away!" moments. (Yes I was in high school in 1998- please don't do to much math here ok?)


Monday, May 14, 2012

Reclaimed Wine Barrel Stopper Coat Rack

Phew! Say that title 3 times fast- Reclaimed Wine Barrel Stopper Coat Rack, Reclaimed Wine Barrel Stopper Coat Rack, Reclaimed Wine Barealekfja andivaowjtlajldj 


Ugh I give up. Seriously I wasn't sure what else to title this besides the obvious so there it is. And, you may be thinking- "Geez how many coat racks does this girl need?" Truth: I sell most of this stuff in a little store here in Town- Dora Lou's Place. If you're ever in Altus, OK come check it out!


Anyway I found these guys while we were in California a few weeks ago. While the Hubs was off wine tasting my preggo self and and the Con-Man hung out outside. That's when I happened upon these wine barrel stoppers:


I asked someone who worked at the winery if I could have a few. Maybe he felt sorry for me in my pregnant state because he said "Sure take a few." Mmmm- Ok! (See you can have fun wine tasting while preggo.)

I have a few ideas for them, coat rack is the first up! Check it out!


I started by sanding them down just a little. I like the rough look; I mainly did this to smooth out any splintery edges and get any excess dust off.

Then I went to the hardware store and bought some 2" Dowel Screws. I figured this was a good length to securely fasten my stopper to the wood and leave some room for the decorative metal rod.


Then I kind of eye- balled the depth for the pilot hole. I needed something deep enough to secure the dowel into both the stopper and the wood backing and leave room for the metal rod. I used painters tape to mark my drill depth and used a drill bit slightly smaller than my dowel and drilled away. 


 I centered my pilot hole on the stoppers and measured out equal distance on my wood backing.


The next step was painting and sealing. Then I screwed my dowels into my pilot holes.


The next part was a bit tricky. I wanted a decorative metal surround to go in between the wood backing and the stopper. I checked out our local hardware store for metal piping and rods. It seems like if metal rods are going to be hollow the smallest they come is 1.5" thick- to big. Anything smaller was solid. 

I thought I had hit a wall. But  a trip to my local Walmart saved the day. Curtain rods! Of course! They are thin and hollow- yay! I bought the smallest tension rod I could find and it was only $2. Score!


I cut it down to the size I needed. This took a bit of guess work; my first measurement of 1" was to long. Second attempt was 3/4" and that seemed to work fine. I measured the rest out and cut them down to size with my scroll saw.


(Bad picture of me working in the garage)


Finally I screwed on my stoppers~


And the final product:


What did you work on this weekend? Did everyone have a happy Mother's Day?


Wednesday, March 28, 2012

Accessorize Your Home For Free

Lately I have been finding that if I want any sort of accessories for my home I've been turning to projects I can make for free or recycling objects I already have. This is partly because of the fact that we live over an hour from the nearest a home decor store and we're always trying to save money.


While doing some Spring/ Easter decorating this was also true. So it made me think that I'd round up some accessory ideas that you can make for free.


Mother Nature is always willing to lend a hand in your decorating adventures.


Branches spray painted white make a bold statement anywhere in your home. 


Here's one that I picked up and painted the other day:


You can also leave branches natural. I used a branch as my Easter Tree on my mantle instead of buying one from the store. Still needs a few more "ornaments" but we're working on it.


Martha Stewart shows us how to use pine cones in lots of different ways for some Fall/Winter Decorating:


A scrap of lumber leftover from a past project can become a Wood Tealight Holder.


And along those same lines, a thick branch from a tree can also serve as a homemade tealight holder:


I also love all the great art people come up with using paint chips:


Recycling things that would otherwise be thrown away is a great way to accessorize your home. Wine bottles are one of the first things that come to my mind. Here's a link to great round up of Wine Bottle Crafts and a few inspiration images:


Or how about sprucing up something you already have? I am digging these paint dipped wooden spoons!


Spicing up everyday items in your home instead of buying new:


Or reusing something you have no use for anymore in a new way. Like old sweaters turned into cozy pillows.


I feel like I could go on and on forever but hopefully these ideas will get your wheels turning. Next time your thinking of heading out to the store to buy an accessory for your home take a look around first; you never know what you might find or cool idea you might come up with!


Wednesday, March 7, 2012

Bed Sheets- the Most Versatile Household Item?

I love using materials for purposes other than what they were intended for; being green, recycling, that whole thing. One of the most versatile household materials in my opinion is sheet fabric. I love using sheets for things other than bedding. Sheets are great because you can get a lot of fabric for cheap, they come in tons of different patterns, and they are easy to work with (if your lucky you can reuse the factory seam = less sewing!)

I thought I'd do a little round up of fun projects using bedsheets:

1. Curtains! The length is usually spot on, not a lot of sewing involved, lots of fun patterns! I used sheets for curtains in my home as well.


2. Duvet Cover. Hey why not? They are about the same size as a duvet and way less expensive! Martha Stewart shows us how! Thanks Martha~


3. Basket Liners. I saw this tutorial and thought old sheets could be used to make these- so cute!


4. Bunting. These are so easy to make! If you have some old sheet laying around or see some at the thrift store this is the perfect project for them.


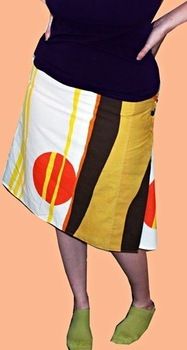
5. A Fun Skirt. Funky old sheets at the thrift store turned into a bold skirt!


6. Whimsicle Shower Curtain. Price of fancy shower curtains getting you down? How about making your own!


7. Braided Rug. Got a lot of sheets (and time on your hands)? How about making your own rug out of old sheets.


8. Embellishments. Want to spruce up your current bed linens (or anything for that matter)? Why not cut up some old sheets and give them a new life?


9. Pajama Pants. You can make PJ's to match your bedding!


10. And last but certainly not the least; the ever popular Toga out of a sheet. Would not have made it through my college days without this. ;)


Another thing I like to use sheets for is art canvases. I buy white ones at the thrift store, use some Gesso or white paint and paint away! I made these paintings for Con-Man's Nursery when he was a tiny baby:


So there you have it- will you think twice about passing up old sheets at the thrift store? And what really got me started thinking of this post is this sneak peak of an upcoming project:


It's something I'm making for Con-Man's room! Any guesses at to what it's going to be?

What's the most creative thing you've used sheets for?

Thursday, September 29, 2011

Mid Century Sewing Table Turned Modern Desk

So have you entered my giveaway for the Dremel Saw Max? What?! What are you waiting for! You could totally win!


Anyway- Phew, long title but trust me it's will be worth the read. Remember last week when I was talking about how just because a piece of furniture was built for a specific purpose doesn't mean it has to live out the rest of it's life that way? Last week I turned an old beat up coffee table into a functional bench.

Well this week I'm at it again. This time with an old Mid Century Sewing table I picked up at a thrift store for 10 measily dollars. 


As I've said before I'm a sucker for Mid Century Design. I liked the style of the skinny legs, blond maple wood, and for $10 I couldn't pass it up. I don't need a sewing table I usually do my sewing on the kitchen table. And I suspect most people these days do the same or just don't have space in their home for one- hence the cheap price of this table.

So if I couldn't use it for a sewing table, what else could it be? A desk would be great! I could really use a little desk for our laptop. And Con-Man could use it when he gets older.

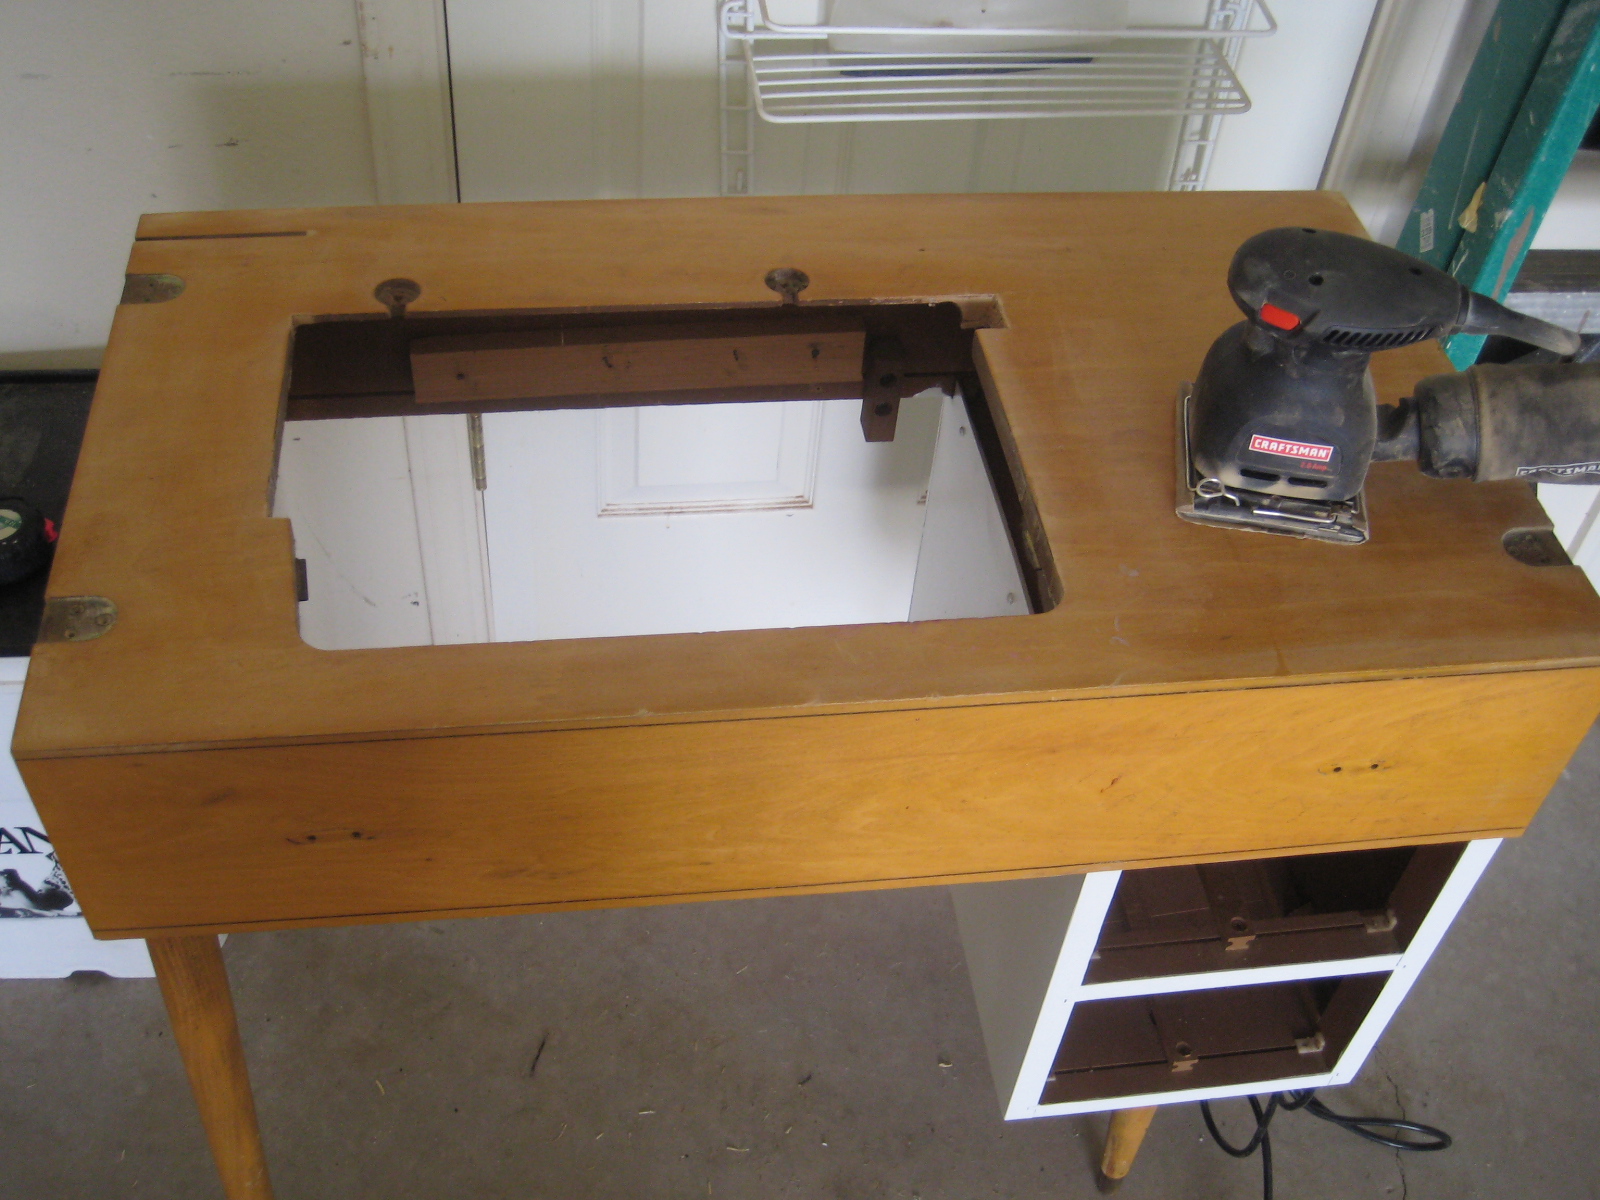
All it needed was a solid top. So I set to work unscrewing the fold out part. Then since all the sides were particle board, not maple like the drawer fronts, I sanded them down and painted them white. I used a Glidden 2 in one Paint and Primer- worked great!


Once that was finished I needed a wood top. This was going to be tricky~ I first went to the local hardware store and bought a piece of MDF and wood trim that I was going to cut down to size. 

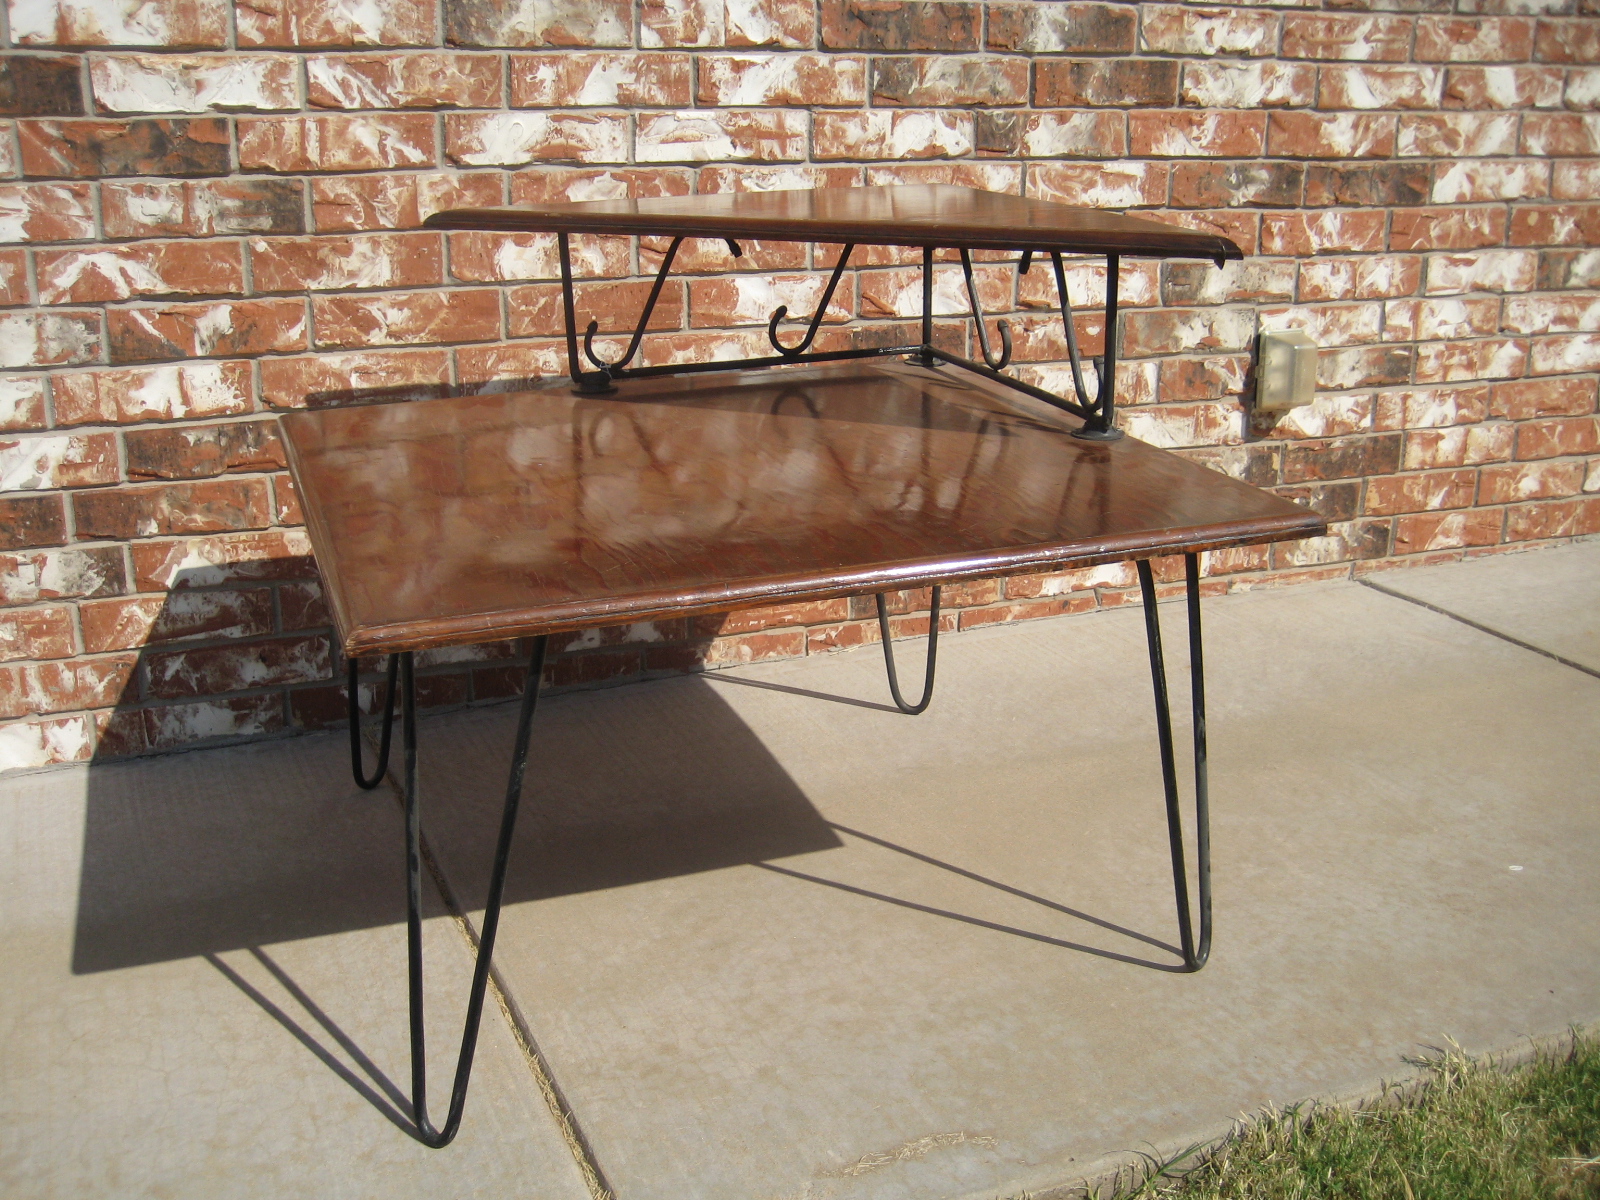
BUT! The furniture gods were smiling on me this day. Because I happened to notice that the funky coffee table I had bought a few days before had a wood top. And it seemed to be the same width as my new desk.


It seemed almost to good to be true but after a little measuring, remeasuring, and measuring again it was true!

So I returned the MDF and got started stripping off the thick varnish and sanded it smooth.


 I took it to the local wood shop on base (A great kept secret for any military peeps out there I'll share later) and cut it do the depth I needed for the table.


Next some more sanding. I sanded the top of the sewing table to prep it for glueing. I used Gorilla Wood Glue and some finishing nails to adhere the new top to the table base.


Then I painted the new top the same white as the base. And I spray painted the metal handles and tips of the legs.


(Sorry for the bad dark garage shots.)

Then Finished! This old Mid Century Sewing Table has a new life as a cool Modern Desk!


And I now have a place for my laptop, sketching, thinking~ whatever I please! And the best part is that it only cost me $10. Score!


So what are your thoughts? Will you think twice about passing up an old sewing table at the thrift store? I don't think I'll be able to pass up anything I "don't need" again!