Showing posts with label spray paint. Show all posts

Thursday, December 12, 2013

MCM Chair Rescue

Hey Blog Friends! I have a fun makeover to share today but wanted to talk a little bit about what has been going on over here lately. My lack of blogging has to do with the fact that I have been fortunate enough to pick up some design work recently- Yay!! 

Unfortunately the kind of work I have is not "pretty" as in I don't have any fun pictures to share. I was lucky enough to win a bid to help with a master suite/ kitchen addition to a home in Texas. So it's all construction document/ CAD work for now. We're just at the beginning stages of the design- maybe towards the end I may have some more to share and maybe when the project is complete the owners and architect will let me share some pics with you all. But that is why the ole blog has been quiet lately.

Now- onward to chair makeover madness!

Remember me asking about these chairs last week? 


A little bit about them: A friend was getting rid of them because the seats were missing. For most people- yes I can understand tossing the chairs. But for me new seats are an easy fix! 

I loved the back and the frames were in great shape. And thank you for the comments on what to do with them. If I were keeping them for myself I would have definitely kept the wood as is. But because I'm putting them in the shop and because the wood was chipped and needed fixing in some places- matching the stain would have been tough. So in the end I painted them white.


And went away from the traditional fabric (as many of you suggested) and choose a more structured pattern:


To fix the seats I used some scrap plywood and made a template:


Which I cut and out and upholstered. Then was all finished!


Chair Christmas Tree Cat Action

I love the detailing on the back and legs- simple but still interesting. 


I'm so glad I was able to rescue these chairs from the garbage! I think they turned out awesome.

And another quickie- I had found some old window frames being tossed out the other day. One I painted red (and already sold) but was able to snap a picture of this one:


These are a quick fix if you happen upon some in your town. Just cut out some hardboard, paint with chalkboard paint, wood glue and staple into place and Voila! New chalkboard. :) 

If your curious I have a Facebook Page promoting my shop. Check it out if you want at

Monday, August 19, 2013

A Little Bit of Audrey in My Life

A while back, well more than a while it's been several months; I won a contest for a hand sketched portrait of Audrey Hepburn from Fall Into London's Etsy Shop


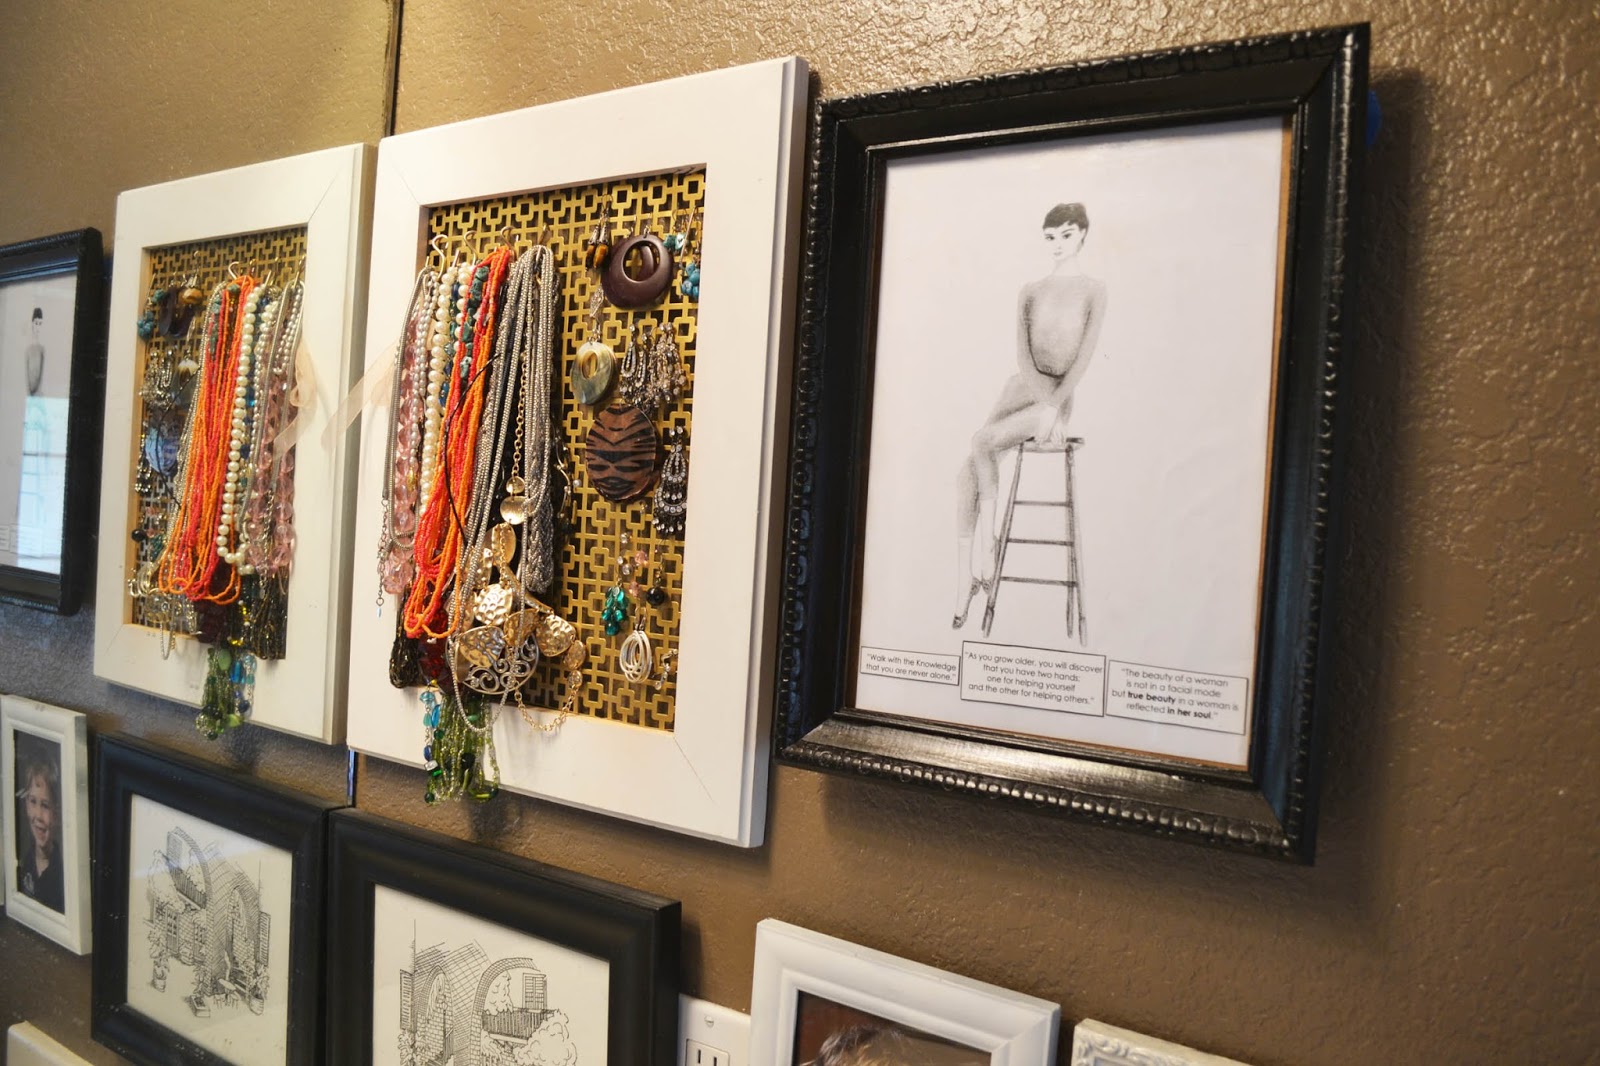
I wasn't sure where to hang it until inspiration struck the other day. Audrey Hepburn isn't only known for her famous movie roles but also for her inspirational saying and quotes. I thought it would be nice to create a little inspiration vignette on my wall in the bath room. I searched online for some of my favorite Audrey quotes and framed them with the sketch.


The Quotes read- "Walk with the knowledge that you are never alone."

"As you get older you will discover that you have two hands, one for helping yourself, and one for helping others."

"The beauty of a woman is not in a facial mode, but true beauty in a woman is reflected in her soul."

I like waking up in the mornings and looking and reflecting on these ideas. I also added some pictures of the kiddos and a sketch that my Uncle did of a cafe in New Orleans- I'm surrounding myself with all my favorite things!


And did you notice that Sa-Weet detail on the Audrey frame?


It was one of my thrift store finds from last week! It looked like this remember?


I painted it glossy black and sealed it with laquer. I like the moody vibe it has now- no more brown town!

Have a Happy and Inspirational Monday Everyone!

Wednesday, August 14, 2013

Just a Quickie...

Ummm I'm talking about a quick DIY project- what were you thinking??? Ew...

Anywho I thought I scheduled this to post last week and I'm all like- "Man, no one is commenting on my project. *Sad Face*" But to my surprise I didn't click publish, so here you go~ one crafty DIY just for you one week late! :)

Last week I found these super cool bamboo trays at Goodwill for only $1.50 for the pair!! Score!


I think bamboo is making a comeback. Not like in the 70's/ 80's where it was over used- but nicely mixed in with modern decor to give a room a touch of natural elements. These little trays are a great way to bring that natural look into my home in a subtle way. Since I have 2 of them I thought it would be fun to paint one and to leave the other natural. I have some Pantone Celestial Blue samples I've been wanting to use and this was the perfect opportunity for it!


I left the "supports" the natural wood for some contrast.


And here is the natural one. I think it will be fun to change them out and use the two to create different looks as needed.


Are you digging bamboo or do you think it should stay put in the 70's?

Linking here

Monday, April 1, 2013

DIY Safe Deposit Box turned TV Console

Of all the projects, furniture redos, and DIY's I've done I think this one is my favorite. From grimy green safety deposit boxes buried underneath piles of junk in a local thrift store to this:

A new television console in our bedroom.


Here's a quick recap of what we started I started with and how I fixed these guys up-

Monday, November 5, 2012

A Blue Redo For You

I hope everyone had a fabulous weekend! My LSU Tigers had a heartbreaking loss but thats ok; I'll get over it.

And don't forget that the Ana White giveaway ends today!

I wanted to share a makeover with you today. I found this metal vintage card catalog drawer at the Goodwill several months ago for just a few dollars. 


Wednesday, October 31, 2012

A Halloween Quickie

I know I said I'd be light on projects but I can't help myself. I'd rather be painting and making a mess in the garage than packing. I can't stand packing! Especially since now I have to pack for not only myself but for the 2 boys, our dog and cat (and occasionally the Hubs but don't tell him I told you that.)

Anyway- Happy Halloween!! I thought I could take down my Fall Wreath for one night to celebrate the evening. I saw this idea on Curbly and knew I had everything on hand to make it. 

Monday, September 24, 2012

Childs Play: An Easy Update

Picture this: Your slowly but surely designing and decorating your living room. It's starting to come together, things are happening and you're feeling pretty good. 

But- you have kids who like to play in said living room and their toys have taken up permanent residence. You don't have an extra play room to keep all their things in, the living room is where the family spends the most time so the living room is where the toys end up. And I think we all know kids toys kind of stand out in adult decor- not the most beautiful.


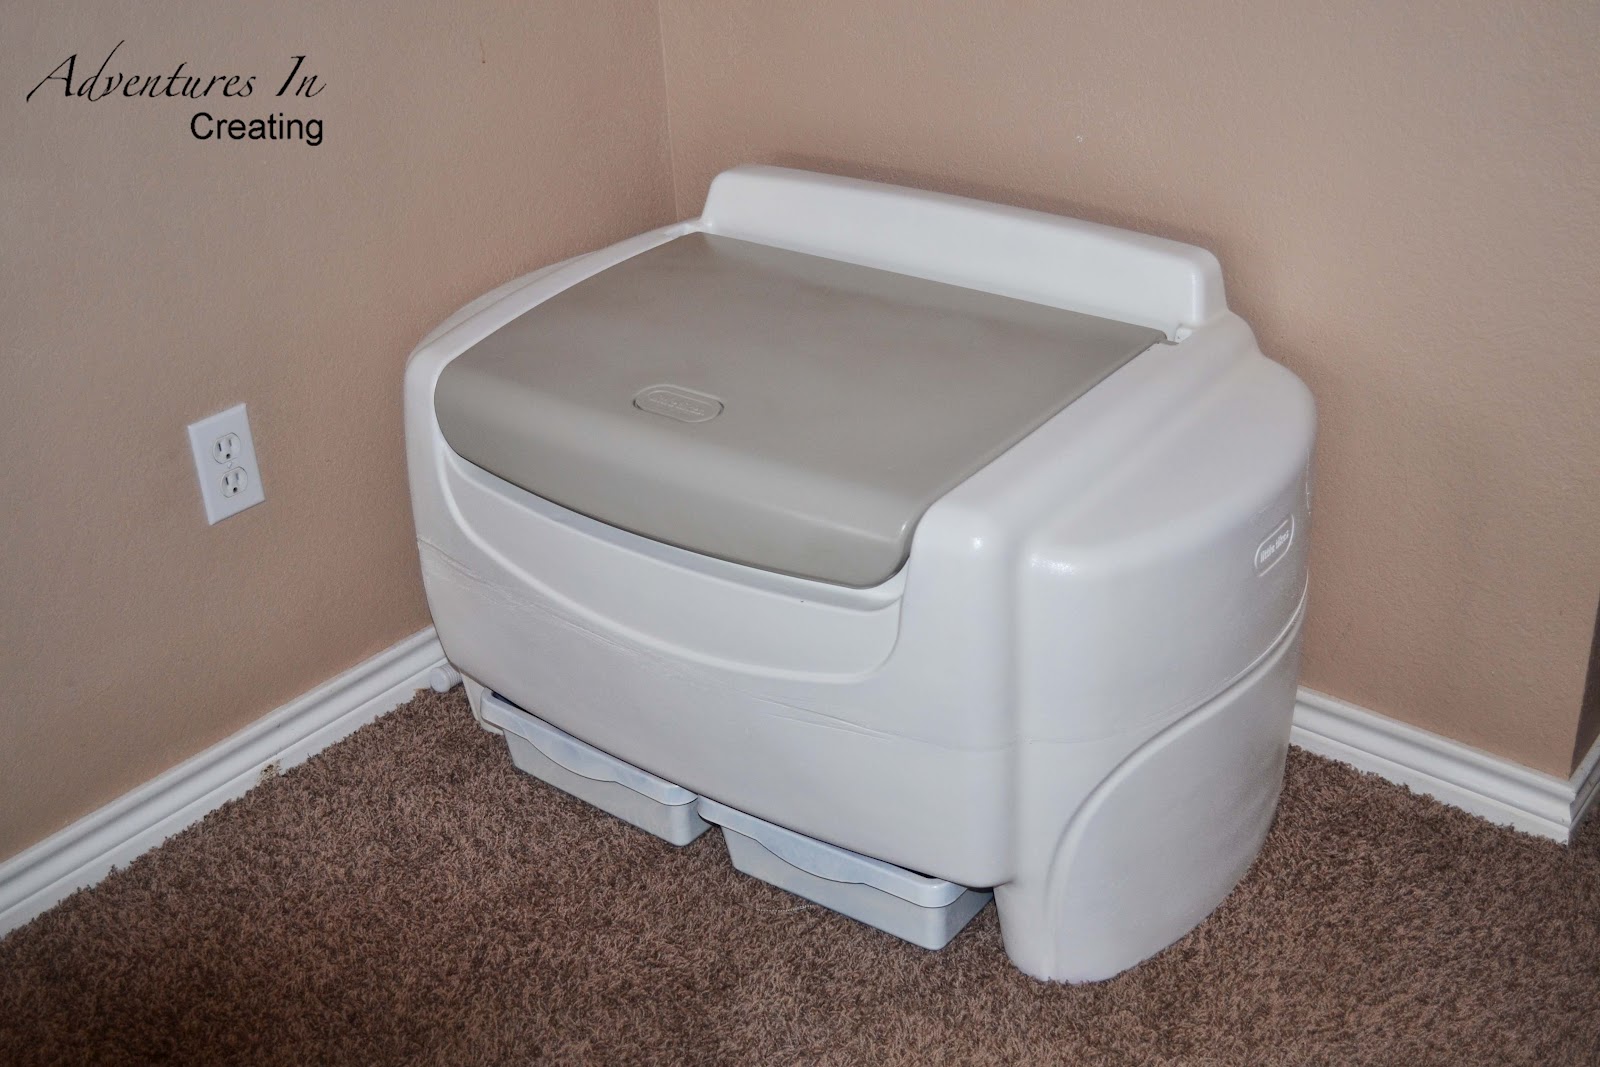
The Culprit

Sound familiar? Its the issue I've been having. I've been wanting to do something about Con-Man's toy box for a while now. It needs to stay in the room so we have a place to store his toys but the bright red and blue kind of clash with my neutral color scheme. 


In addition to the red toy box I bought this Fleur De Lis basket at Ross (love that place!) for a little bit of extra storage. Clearly the two do not mix.


Solution: I went to my local hardware store and picked up some of this Krylon Spray paint specially made for plastic and spray painted the heck out of his toy box.


Now, I did discuss this change with The Con-Man just in case he had an issue with his red toy box being painted white. He was cool with it and seemed excited about the whole thing. 

After 3 cans of spray paint and some drying time the toy box was finished.


Both together:


Much better in my opinion and Con-Man doesn't seem to miss his big red monstrosity so far. Let's hope he doesn't ask me to paint it back to red later down the road!

What do you do about your children's toys in your home? Would you take the liberty of changing up some of their things to fit your decor?

Monday, September 10, 2012

Fall Wreath My Way

It's Fall!! Here in Oklahoma we actually had temperatures below 100 degrees!! The highs have been in the 80's. I feel like I'm freezing and I'm loving it. 

Also, as mentioned before I love Fall because Fall means Football. And just because we live in Oklahoma now doesn't mean I can't show my Louisiana Pride. 

And to show that pride to all my neighbors (mostly OU fans) I made an LSU and Saints Wreath! 


I started with foam letters from the craft store. They were less expensive than the wooden ones and cuter I thought.


All they needed was a little paint.


I added some ribbon like my Christmas and Mardi Gras Wreaths, glued the letters on and was ready to hang.


So when our friends came over to watch the LSU Game we were ready. My Tigers won but sadly my Saints lost. But overall I had a good football weekend because I won my Fantasy Game as well! Woo!

Linking to The CSI Project!


Monday, July 16, 2012

A Nursery That's Over the Moon

As promised today I'm going to reveal Tiny Falcon #2's Nursery. And since we've been telling everyone else I can finally tell you as well- We're going to name him Sawyer! He'll be here in about 2 weeks if all goes as planned.


His nursery has been pretty much ready for a while now. The reason I hadn't shown it yet is because I have been tirelessly searching for the curtains that match his bedding. They much have gotten lost in the move because they haven't turned up along with a few other things that Con-Man used as a baby. You can read more about my inspiration for the room here.


Anyway- without further adieu here's Sawyer's Moon and Star Nursery:


The theme for the room came from the saying "I love you to the moon and back." I used Con-Man's old bedding that my mom and I made which luckily matched the paint color that was already in the room. I had trouble finding stars and other accessories to match the color scheme so I broke out the spray paint and made it work.


I found a dresser at the thrift store that we are using as a changing table; The changing table we had for Con-Man is now our entertainment center. Reused the old rocker from Con-Man's room and a friend gave me the penants hanging on the shelf. The shelf is just a piece of wood leftover from other projects and the baskets are garden baskets we had on hand that I spray painted.


And again a few things leftover from Con-Man's nursery; the pictures I painted and the shelving unit. 


It's simple and sweet, just the way I like it. I feel like I had a lot more stuff in Con-Man's room. I remember the shelf being full and needed extra storage so we got an old chest. I guess a lot of the things that were in Con's room before we are currently using. 

Either way all this room needs now is a baby!! Come on July 28th!