Showing posts with label picture frame. Show all posts

Monday, August 19, 2013

A Little Bit of Audrey in My Life

A while back, well more than a while it's been several months; I won a contest for a hand sketched portrait of Audrey Hepburn from Fall Into London's Etsy Shop


I wasn't sure where to hang it until inspiration struck the other day. Audrey Hepburn isn't only known for her famous movie roles but also for her inspirational saying and quotes. I thought it would be nice to create a little inspiration vignette on my wall in the bath room. I searched online for some of my favorite Audrey quotes and framed them with the sketch.

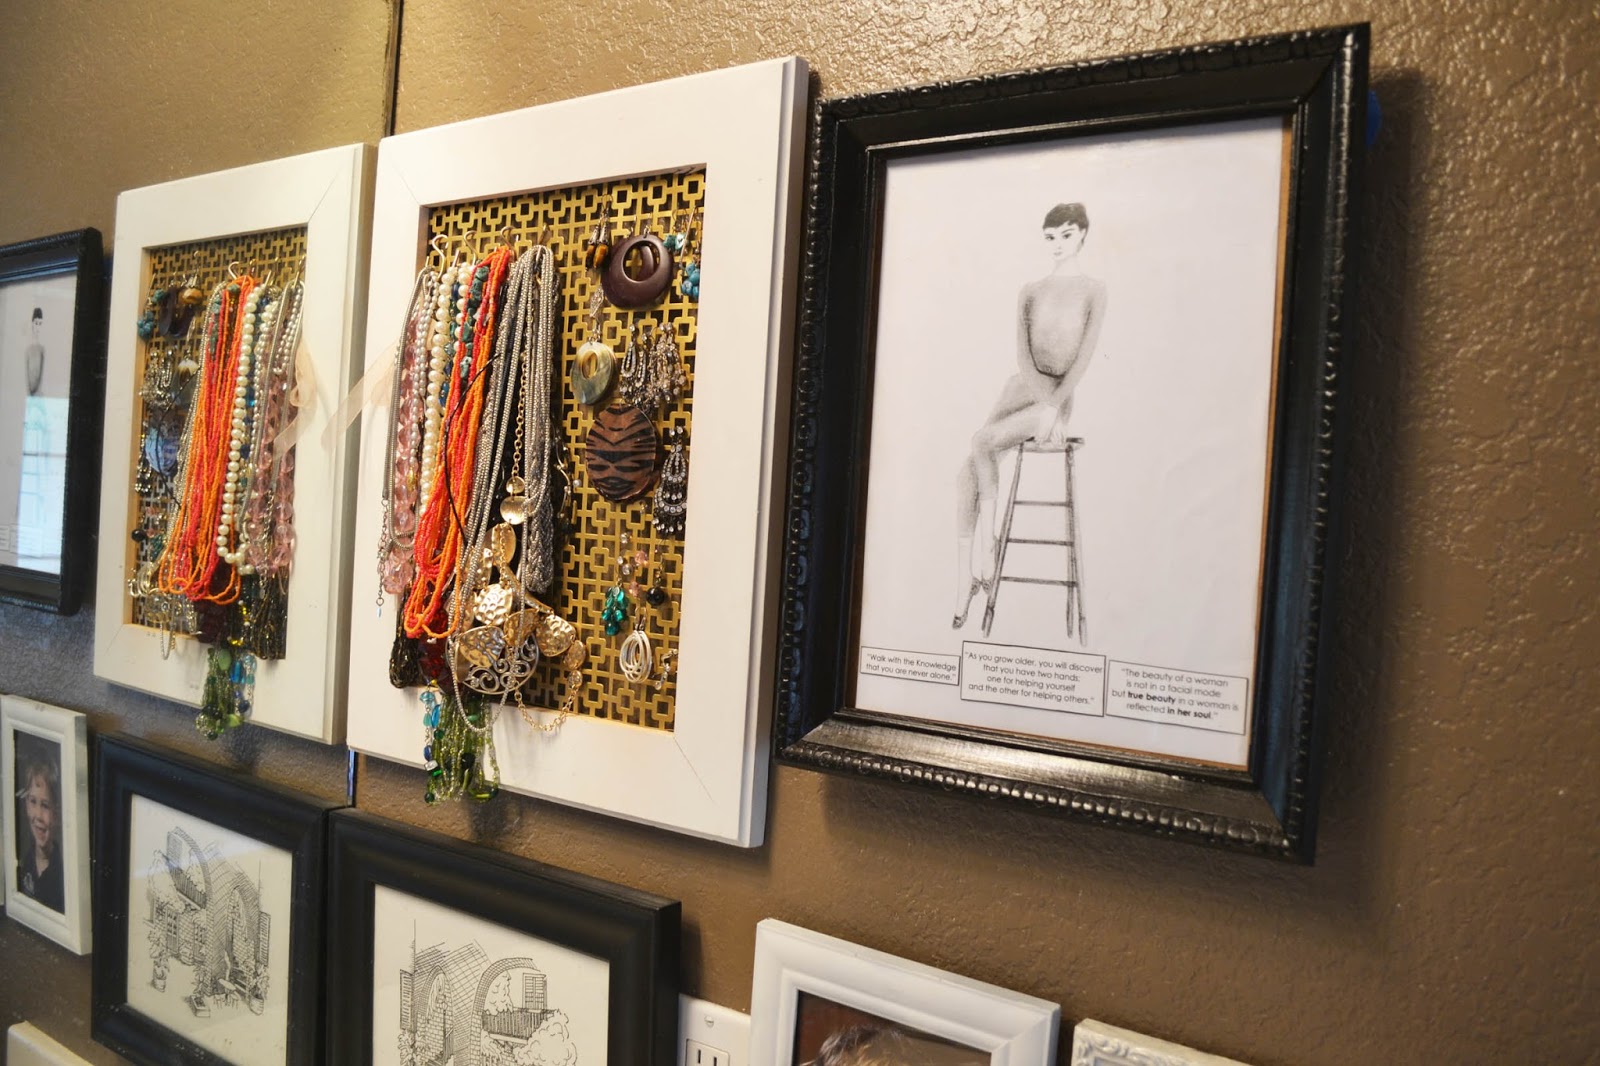


The Quotes read- "Walk with the knowledge that you are never alone."

"As you get older you will discover that you have two hands, one for helping yourself, and one for helping others."

"The beauty of a woman is not in a facial mode, but true beauty in a woman is reflected in her soul."

I like waking up in the mornings and looking and reflecting on these ideas. I also added some pictures of the kiddos and a sketch that my Uncle did of a cafe in New Orleans- I'm surrounding myself with all my favorite things!


And did you notice that Sa-Weet detail on the Audrey frame?


It was one of my thrift store finds from last week! It looked like this remember?


I painted it glossy black and sealed it with laquer. I like the moody vibe it has now- no more brown town!

Have a Happy and Inspirational Monday Everyone!

Monday, April 8, 2013

Super Easy DIY Jewelry Holder

So a few weeks ago I scored this lamp from what is now my favorite thrift store (since its the same one I got my safe deposit boxes from) for only $10!


It needed some rewiring (if you want to read more about rewiring lamps you can check out this post here or Kara Paslay has a good tutorial on wiring.) but for $10 that was not an issue. 

I like the vintage bohemian feel but that gold metal screen inside was a bit much.

So I took it out.

Tuesday, February 12, 2013

Vintage Window Picture Frame

I was going to title this post:

"Lets see how many holes I can punch into the wall of my rental home."

But decided that was to long. (Just kidding Landlord I'm going to patch any and all these holes!) I had just hung our family photo wall not to long ago and I'm already changing it up.

Remember last week I shared this photo of the scrap wood I found?


Wednesday, May 30, 2012

Convex Mirror DIY

Happy Wednesday Everyone!!! Today I have a quick and easy DIY for you. 


I had a pair of small convex mirrors forever. I found them at a thrift shop back in college for $1 each- thinking one day I'd make some sort of frame for them I bought them. But inspiration never came. They sat in my craft box for years.


Then I saw this from Worthing Court Blog. 


So Simple! So Stylish! So Easy! Why didn't I think of this?


I went to Lowe's and found the ceiling medallions I needed. I bought 2 small ones for $7 each instead of the large.


Once I opened my ceiling medallion I realized my mirror was to small for the hole, so I decided to cut a piece of fiber board (Lying around from another project I have yet to start.) using my jig saw and use it as a backing to glue my mirror to. I traced the size of the circle then cut it out a little bit larger than my pen mark so I'd be able to glue it to the back of the medallion.


I didn't mind that it wasn't cut perfectly since I was glueing it to the back of the medallion.

Once it was cut out I glued it on to the back using Gorilla Glue for wood, stone, and metal and let it dry. 


Once that had dried I use a semi gloss white spray paint to paint the whole thing. Though I did learn not to leave my projects lying around or else some one (The Con-Man...) will come by and step right on top of it. Oops... had to do this one all over again!


The final step was gluing my mirrors onto the medallion using the same super glue and done! My mirrors were not the same truck mirrors as in my inspiration project; they had flat backs so there was no prep work to be done. Lucky me!


I hung them in our bedroom. 


I'm glad I finally was able to use these mirrors I've been carting around with me. Do you buy materials for projects and don't always get started on them right away?

Sunday, March 25, 2012

Gallery Wall- Fini!

I hope everyone had a fantastic spring weekend! 


We had some great weather here in Oklahoma  so we tried to spend as much time outside as possible. And we went to see the Hunger Games!! I didn't make it to the wood shop like I had hoped (they were closed for Spring Break!) but I did finally get our family gallery wall together.


I feel like I've been talking about it and working on it forever. I needed to fill this blank wall in our living room. 


So slowly but surely I collected frames from our local thrift stores and then painted them all white.


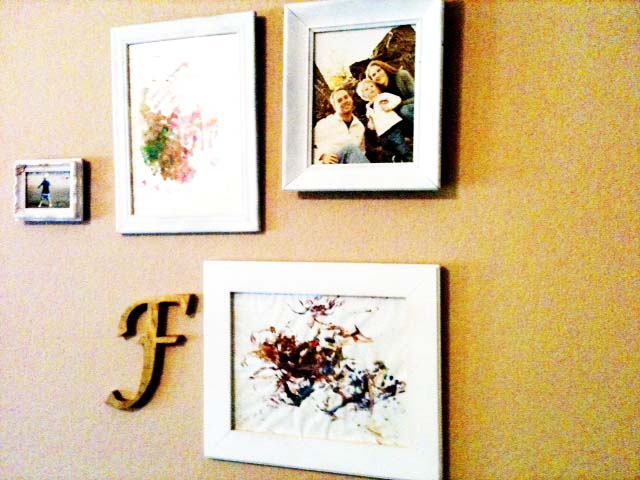
I also decided to add some other personal touches. Like this Letter F to represent our last name; Falcon.


And a Fleur De Lis I found at Hobby Lobby to show our Louisiana heritage.


I also added some of Con-Man's artwork that I can change out every once in a while. He gets a kick of seeing things he made hung on the wall.

Once I gathered everything together I set about laying out my frames. There are some great tutorials out there on how to lay out and hang your frames, but I just winged it in the end. (I'm lazy what can I say?) I measured my wall width and height. Then figured that I would leave about a foot of space on either end and center the middle photos at eye level.

Then laid of my frames on the floor beneath my barren wall.


Then I began to hang them starting from the center most frames and worked my way out. 


I will have to say this is not a fool proof method- I had to rehang a few pictures higher or lower. So I ended up with a few extra nail heads but it didn't take long- my kind of project! I think it turned out pretty good. I love having our family photos displayed.


If your itching to try a gallery wall of your own but don't want to wing it like I did here are some great tutorials on how to go about it:


Happy Hanging!

Monday, January 30, 2012

Antique Tin Ceiling Tile Frame Part Deux

Remember that old ceiling tin tile I bought at the salvage yard? Well I'm back with another project using it! It's the purchase that keeps on giving.


I bought some inexpensive wood frames at Walmart and got to work making them a little more functional.They didn't come with glass or a good way to hold a picture in; so I used some plastic frames and used Epoxy glue to adhere them to the back. Then painted them.


Next up was cutting my ceiling tile down to size. I used the cutting wheel on my Dremel for the job. Then spray painted those~


Then using some small nails/ tacks I hammered the ceiling tin to the frame. I made a blue one and a bronze/ silvery one. Originally the frames could only be used as free standing frames, but I tacked on some small picture hangers so they could be hung on the wall as well.


I think they turned out pretty cute! 

Have you ever bought something that you were able to keep using and using over and over again?


Friday, December 2, 2011

Antique Tin Ceiling Tile Frame

Happy Almost Weekend Everyone! I'm so excited December is finally here- Christmas Holidays, family gatherings, my birthday... Oh ya! My birthday is coming up in a few weeks- time to celebrate!

In the meantime you could win an early Christmas or Birthday present of your own; just enter my Dremel Trio Giveaway!


After your done doing that I thought it would be fun to show you a project I made with my Dremel recently- check out this frame I made the other day:


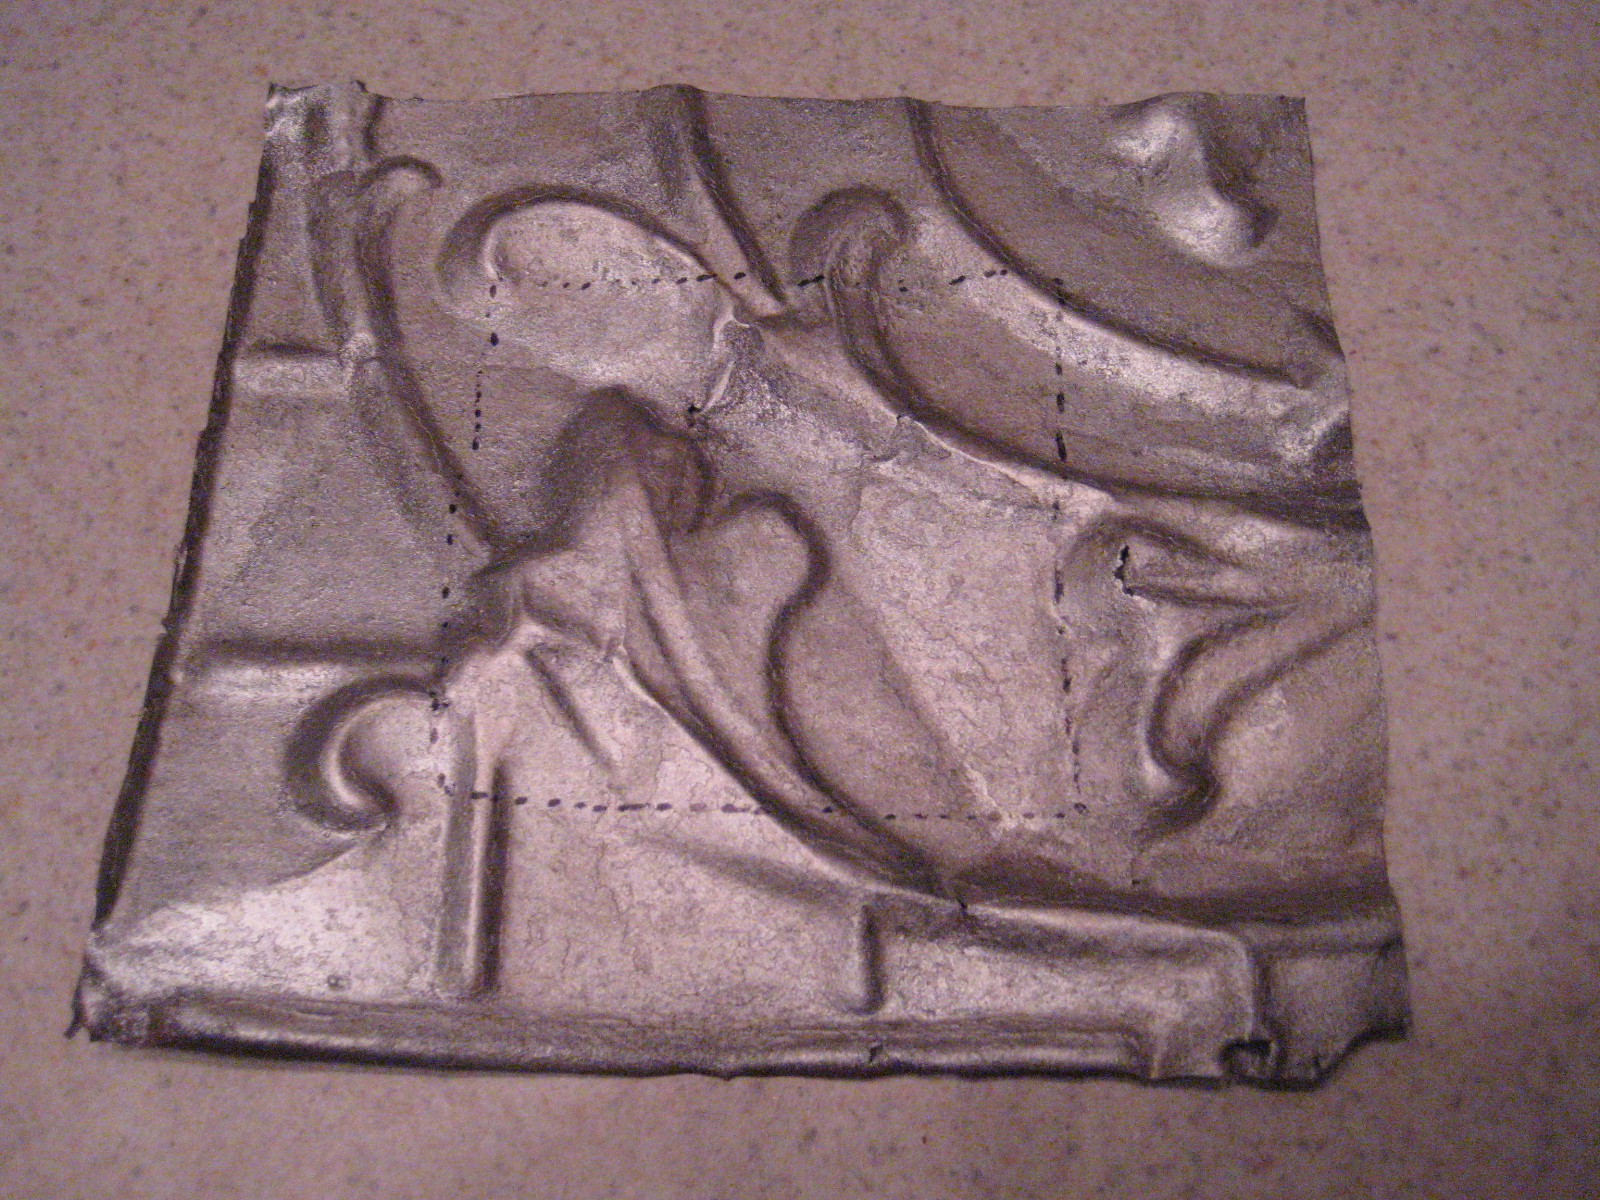
About a month ago I made a trip to a cool antique store just north of Altus and had found this:


I found a 4"x6" picture frame at the Goodwill store for $1 (orange stickers were 1/2 off that day!) and thought it would be cool to try and make a tin frame for it.


I used my Dremel Rotary tool to cut out one of the squares of the tin. I choose one that was in bad shape since I was going to be twisting and bending it up.


Next I cut an angle in the corners of the tin so I could mold the tin around the frame.


Once I had molded the tin all around I used a short screw in each of the 4 corners to secure it to the frame.


And done! 


What do you think? If I try this again I might try to figure out how to make it look a little "cleaner" looking as far as the bent edges go. And now I need to figure out what to do with the rest of the tin ceiling piece. 

I hope everyone has a wonderful weekend and Geaux Tigers!